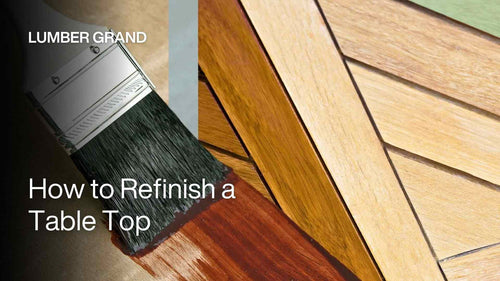
Ready to craft a unique piece that will stand out in your home? Lumber Grand’s DIY epoxy wood slice table guide covers everything from materials and tools to creative design ideas. Learn the essential steps, tips for curing the resin and how to make your table stand out. Let’s turn your vision into reality with epoxy resin!
Why You Should Make an Epoxy Wood Slice Table?
The reason you should make an epoxy wood slice table is because wood combined with an epoxy coating has natural beauty and high durability, creating a unique piece of furniture.
Moreover, an epoxy wood slice table is easy to clean, waterproof and suitable for many purposes. You can customize the design, choose the color, wood type to your liking and enjoy the fun of a cost-effective but creative DIY project.
Step by Step DIY Epoxy Wood Slice Table Guide
Stick with Lumber Grand and we’ll guide you through the steps to turn your vision into reality. All set to start creating your own DIY epoxy wood slice table? Let’s dive in!
1. Materials & Tools Preparation
Before you kick off creating your wood slice epoxy table, let’s make sure you have all the essentials ready to go:
-
Wood slices: Walnut, maple and oak are solid options. Just make sure the wood’s dried out well-aim for a moisture level between 7-11%.
-
Epoxy resin: A great go-to is TotalBoat High Performance Epoxy Resin. It has an easy 2:1 mix ratio and gives you plenty of time to work, which is perfect if you’re a beginner.
-
Epoxy mold: Build the mold a little bigger than your table size and make sure the sides are taller than the wood thickness so the epoxy has enough room to settle.
-
Supporting tools (sander, gloves, stirring stick, etc): A random orbital sander with varying grit sandpapers (60-220 grit) is recommended.
 Gather your wood slices, epoxy and tools to get started on your DIY epoxy wood slice table
Photo: ArtResin
Read more: Epoxy Table for Beginners - 5 Simple Steps, Tips & Amazing Ideas
2. Steps to Make an Epoxy Wood Slice Table
Just follow these simple steps to make a DIY epoxy wood slice table and you’ll have a stunning, custom design in no time!
2.1. Step 1: Prepare and clean the wood slices
First things first-make sure your wood table are clean and smooth! You may start with coarse-grit sandpaper and progressively move to finer grits for a smooth finish. Remember to always sand in the direction of the wood grain.
After sanding, you should thoroughly clean the wood slices to remove all dust and debris. It’s a good way to use a vacuum cleaner, followed by a wipe-down with a tack cloth or microfiber cloth to ensure a pristine surface.
 Sand and clean your wood slice epoxy table for a smooth surface
Photo: desy_sevdanova from Getty Images
2.2. Step 2: Create the mold and secure the wood
Next up, it’s time to create the mold for your wooden table top epoxy. You should construct a mold using materials like MDF boards. Then applying a release agent, such as adhesive tape or liquid release wax, to the mold's interior will facilitate easier removal of the cured epoxy.
You may try to place the prepared wood slices into the mold. Using clamps can help hold them in place for your upcoming DIY epoxy wood slice table!

Build your mold and secure the wood slices in place
Photo: AbeStorm
2.3. Step 3: Mix and pour the epoxy resin
Now for the fun part-mixing and pouring! If you’re adding color or patterns, this is the perfect time to get creative.
Try to mix the epoxy resin and hardener in the correct ratio above. Then, you stir thoroughly to achieve a uniform mixture. If you desire color, try to incorporate appropriate pigments during this stage. You should carefully pour the mixed epoxy into the mold and use a spreader or brush to distribute the resin evenly.
 Mix the resin and pour it over your wood slices
Photo: Thirdman from Pexels, Axminster Tools
2.4. Step 4: Remove air bubbles from the epoxy
After you pour, you might spot some air bubbles in the resin. No worries, just be sure not to scorch it! Gently pass a heat gun or torch over the epoxy, keeping it moving to prevent scorching. This step helps in achieving a clear, smooth finish for your DIY epoxy wood slice table.
 Pop air bubbles using a heat gun for a smooth finish
Photo: Total Boat
2.5. Step 5: Let the epoxy cure and finish the tabletop
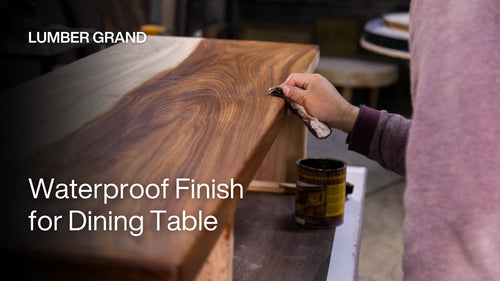
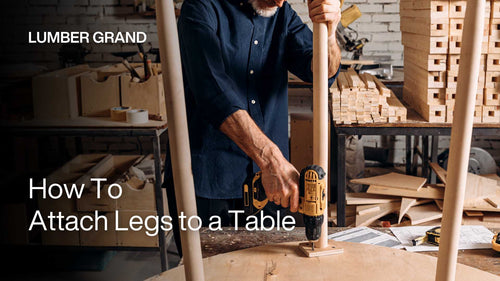
Let the epoxy fully cure. Patience is key here! Remember to allow the epoxy to cure undisturbed in a dust-free environment. You should remove the wood slice epoxy table from the mold. Don’t forget to apply a suitable finish, such as polyurethane or oil. Then, attach the legs and you’re done!
 Let the epoxy cure, then add the finishing touches!
Photo: Zuka83 from Getty Images
Key Considerations for Making a Wood Slice Epoxy Table
Now you’ve got the why, what and how to make a DIY epoxy wood slice table! But as a beginner making an epoxy wood table, don’t forget to take note of some key factors that influence the epoxy curing process:
-
Epoxy drying & full curing time: Epoxy resin typically becomes dry to the touch within 24 hours. However, it doesn't mean it's fully cured and ready for use! It can take anywhere from 72 hours to several weeks.
-
How to ensure epoxy resin cures perfectly: You should keep in mind that epoxy cures best at temperatures between 72-74°F (22-24°C) and humidity levels between 40-60%. If it gets damaged, you may look at our tips in “how to repair epoxy table top."
 Make sure your epoxy cures perfectly with the right conditions
Photo: WEST SYSTEM Epoxy
Creative DIY Epoxy Wood Slice Table Ideas
Epoxy wood slice table is becoming a hot trend and for good reason. Ready to get inspired? Let’s dive into some creative ideas for your next DIY epoxy wood slice table project!
-
Epoxy coffee table with natural wood: Blend the natural wood’s rustic vibe with the smooth, shiny finish of epoxy resin for a coffee wood slice table that stands out.
-
Dining table with unique epoxy patterns: Mix in some pigments or go for a river-style effect, and you'll have a dining table that's sure to grab attention.
-
Decorative table with clear resin: Perfect for showing off live-edge wood slices or adding fun touches like dried flowers or metallic flakes to create something truly unique.
 Check out this round epoxy dining table for some stunning epoxy table style inspiration!
Photo: Lumber Grand
Shop now: Round Epoxy Dining Table 35 Inches
Now that you have the complete guide, it’s time to roll up your sleeves and get to work! You can reach out to us for more tips at contact@lumbergrand.com.
Making a DIY epoxy wood slice table is easier than you think and offers many creative chances for you to shine. Whether you’re making a coffee table, dining table, or decorative piece, Lumber Grand hopes the result will be unique for your comfort place. Happy crafting!