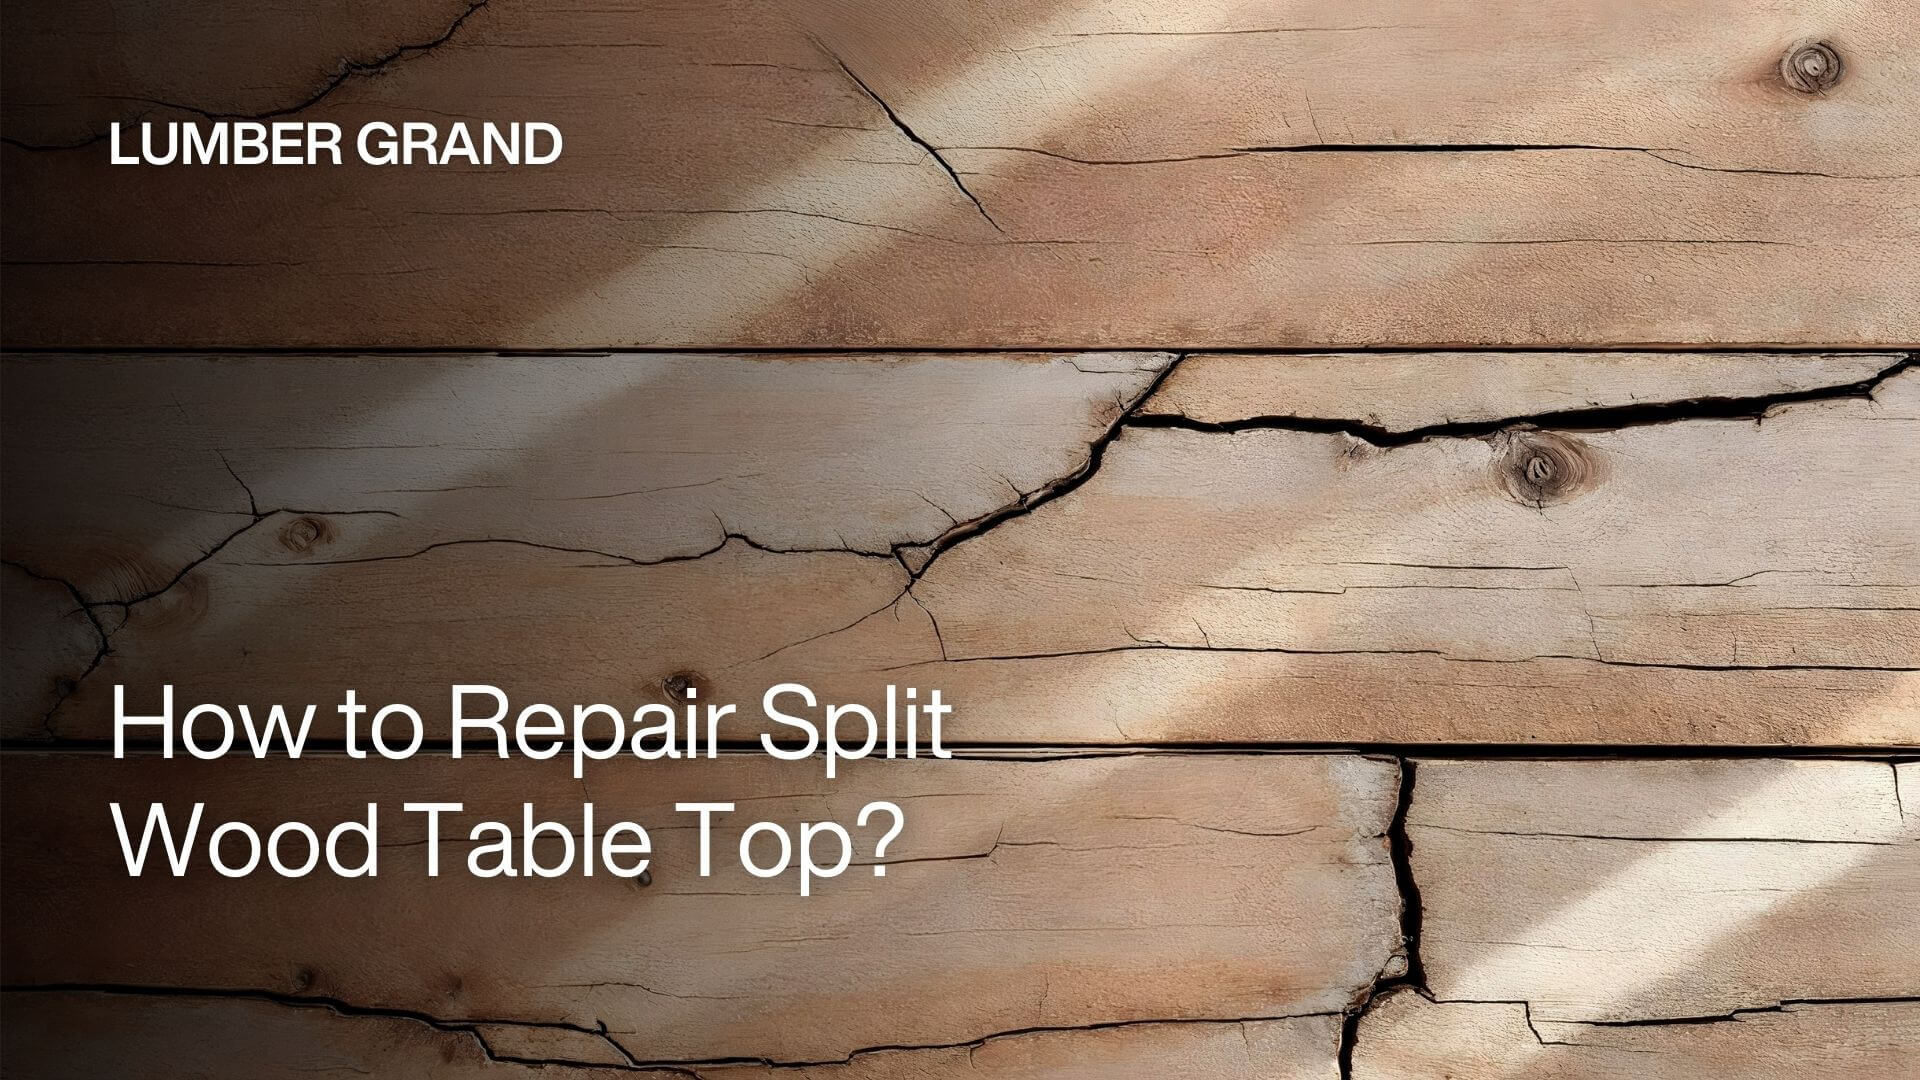
Have you noticed cracks appearing in your wooden table top? Learning how to repair split wood table top is easier than you might think!
Wooden tables are beautiful pieces of furniture that can last for generations, but they're also made from a natural material that's always responding to its surroundings. When the air gets dry in winter, wood shrinks a little. When it's humid in summer, wood expands. This natural movement, along with exposure to sunlight and heat, can sometimes cause splits/cracks to appear in your table top.
The good news is that you can fix these cracks yourself with some simple tools and a bit of patience. In this guide, Lumber Grand’s experts will show you exactly how to repair split wooden table top and make it look beautiful again!
Why do Splits Appear on Wood Table Top?
Wooden tabletops are beautiful and long-lasting, but just like us, they react to their surroundings. Changes in weather, heat, and even sunlight can cause them to crack or split over time.

Changes in weather cause wooden table tops to crack or split over time.
Photo: Mez
If you’ve ever noticed cracks in your wooden table, here are 4 likely reasons why it happens. And then, don’t forget to check our next section on how to repair split wood table top:
1. Humidity changes make wood expand and shrink: When the home heating is on during winter, the air becomes extremely dry. This pulls moisture out of the wood, shrinking it slightly.
In summer, when it is humid, the opposite happens. Wood takes in water from the air and expands. They soak up moisture from the air and expand. This back-and-forth movement puts stress on the wood, which can cause cracks over time.
2. Sudden temperature shifts stress the wood: Quick changes in temperature put stress on the wood as well. So, if you place a table near a heater, fireplace, or air conditioning unit, you’re severely damaging the wood.
For example, when you take a hot glass and put it under cold water, that sudden change can cause damage. Wood reacts similarly, just slower.

Discover the origin of cracks in wooden table tops
Photo: Carmon Bibbie
3. Poor drying before the table was made: Sometimes the problem starts before you even buy the table. When people turn wood into furniture, the wood needs to be dried properly to remove extra moisture.
If the wood isn’t dried well at the factory, it can hold onto internal stress. Over time, this stress can cause the wood to crack, even if you take good care of the table.
4. Sunlight dries out and weakens the wood: Sunlight (with UV rays) does more than just fade wood. It breaks down the natural glue-like substance (called lignin) that holds wood fibers together. When your table sits in direct sunlight day after day, the wood gets dry and brittle, making it more likely to crack.
How to Repair Split Wood Table Top: Step-by-Step
Repairing cracks in a wooden table top can be difficult, but the process is simple when you follow the right method. Here, you’ll learn how to repair split wood table top step by step with easy-to-find tools, the right glue, and basic techniques.
Step 1: Tools and Materials Needed to Fix Cracked or Split Table Top
To repair a cracked wooden table top, you need to prepare tools and materials that will help the repair process go smoothly and safely.
Depending on the severity of your split wood, you may not need all of these things to get the repair done, but they can help make it look as good as new.
1. Small knife or wire brush: You will need them to clean out dust, dirt, or old glue from the crack.
2. Clean cloth or rag: To wipe off excess glue and keep the workspace clean.
3. Wood clamps: These hold wood pieces tightly during glue drying to ensure a strong bond. Bar clamps or C-clamps with a minimum jaw opening of 12 inches and a clamping force of 300 – 600 pounds are ideal if you’re repairing split wood table top.
4. Wood glue: This bonds split or cracked table top pieces together securely. A high-quality wood glue, such as Titebond II Premium Wood Glue, is recommended for its strong bond and water resistance. It has a viscosity of 4,000 cps, sets in 10–15 minutes, and fully cures in 24 hours.
5. Sander or sandpaper: These tools repair areas for a seamless finish. Alternatively, 120-grit and 220-grit aluminum oxide sandpaper sheets (9x11 inches) work for manual sanding.
6. Wood filler: This fills larger cracks or splits in the table top and accepts stain for a natural look. Besides, it has a putty-like consistency, adheres to wood, and supports staining with oil- or water-based products. So, you have to choose a color close to the table top’s tone (e.g., walnut or oak) and ensure the filler is rated for interior use with a maximum gap fill of 1/4 inch.
7. Wood shims or thin wood pieces (if needed): For filling wider gaps or fixing large cracks.
8. Clean cloth or rag: They’re needed to wipe off excess glue and keep the workspace clean.

Tools and materials you’ll need to fix split wood on table top
Photo: ©InCommunicado on Canva.com
Step 2: Examine the Split/Crack of the Table Top
Before jumping into repairs, you first should take a good look at the tabletop to see how big the split is. If it’s a small, clean crack, you’ll just need glue and clamps. If it’s wide or has missing wood, you’ll need filler.
Assessing the condition will make the repair process much easier and help you learn how to repair split wood table top, refresh and make it look new. You can begin by cleaning and prepping the surface. Let's learn more in the next step.

Inspect the crack
Photo: Emma Mia Bengtsson
Step 3: Clean the Area
Thirdly, you’ll have to remove dust or dirt from the split. After that, please let it dry completely before starting. You can start with:
1. Clean di͏rt and stuff: Sweep off sawdust, bits of wood, and grime from the gap with a little broom, soft-bristled broom, or compressed air if you have it. This helps the glue get in better when fixing the broken wood on the top of the table.
2. Clear the space near the gap: If there is any old paint, coat, or glue left around the gap, scrape it off with a knife or gently sand it. This makes a clear surface for better sticking and fixing of the cracked wood surface.
2. Wipe with a damp cloth: After removing all dust and residue, you can wipe the area with a clean, wet cloth and let it dry completely before moving on to the gluing step.

Clean the splits or cracks on your table top
Photo: Bricoportale
Step 4: Apply the Right Wood Glue
The next step on how to repair split wood table top is to use Titebond II wood glue (as we recommended in Step 1), which sinks deep and makes a tough bond with the wood fibers.
If wood is split, you can repair the cracked table top by generously applying wood glue to both sides of the crack. Next, you need to use a thin tool like dental floss or a piece of paper to get the glue really worked into the crack if it is a thin split. Once you have got the crack well covered in glue, clamp the joint together and let it dry out fully.
Note: Wood is naturally porous and expands and contracts with changes in temperature and humidity. And super glue (cyanoacrylate) creates a hard, stiff bond that can't flex with this movement.
Over time, as your wood furniture expands and contracts, the rigid super glue cracks, and then it can break your repair. This is why woodworkers typically choose specific wood glues (PVA, Epoxy, etc.) that maintain some flexibility and work with wood's natural movement rather than fighting against it.

Apply the right wood glue to repair split wooden table
Photo: Freepik
Read more: How to Protect Wood Table Top
Step 5: Clamp and Let It Cure
It’s time to use wood clamps to secure the table top while waiting for the glue to dry. If you don't have clamps, you can always use heavy items or straps to solve your problem, but keep in mind that the pressure won't be uniform.
For the best bond and the safest, wood clamps are one of the best tools you need to repair split wood table top.
After gluing a crack, you should use some wood clamps to hold the piece of wood together and prevent warping. However, please don't over-tighten — just enough to seal the gap, wipe off all the extra glue before it dries. We suggest the time for the glue to dry on the tabletop for around 12-24 hours.

Use some wood clamps to hold the piece of wood together and prevent warping
Photo: Freepik
Step 6: Sand and Smooth
Once the glue is completely dry and the clamps are off, it’s time to sand the table top, especially if you’ve used wood putty to fill any gaps.
If you want to have the best results in how to repair split wood table top, let’s start with coarse sandpaper (80-100 grit) to remove excess glue or putty. Then move to finer grits (220) to smooth everything out and blend the repair with the rest of the tabletop.
Besides, to prevent scratching table, you should use extra caution on tables with thin veneer. Otherwise, you may rub off the finish with your sandpaper.
After the surface is smooth, remove all your sanding dust with a clean cloth or dusting rag before finishing or painting.

After the wood glue dries, you can use sandpaper on the table top to have a smooth surface.
Photo: Freepik
Step 7: Refinish the Surface
So, you’ve done fixing and smoothing, the last step in how to fix split wood table top is to finish the top. This not only brings back the table’s look but also guards the wood from dampness, marks, and damage over time.
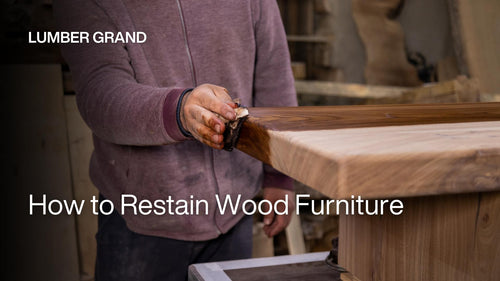
You will need smooth sandpaper (220 grit), a cloth with no lint, and a finishing item like wood oil, polyurethane, or wood stain. Lightly rub the surface again, wipe off all dust, th͏en put on a thin even layer of your choice finish following the way of the wood grain.
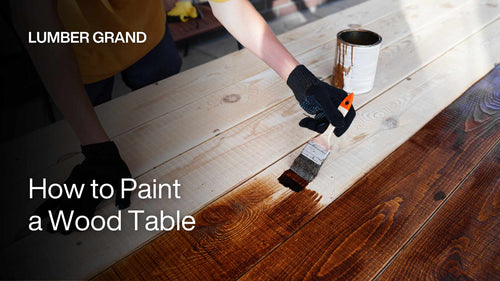
Last but not least, if you want to change the color, paint the wood first, you can apply a protective coat and wait 8 hours or overnight for it to dry. For extra durability, you can lightly sand and apply a second coat. This step will give your table a new, long-lasting finish.

For extra durability, you can lightly sand and apply a second coat.
Credit: Lumber Grand
Shop now: Round Wood Epoxy Resin Dining Table Top 41 inches; Round Black Epoxy Table Top 15 inches
How to Prevent Splitting Wood Table Top
Wooden tabletops can split due to humidity changes, temperature fluctuations, and improper care. To prevent splitting, follow these 8 tips:
- Maintain proper humidity: Keep indoor moisture at 40% to 60% to stop wood from growing or shrinking.
- Apply a protective finish: Put on a safe coat, use oil or water finishes to keep the wood from wetness and outside harm.
- Regular cleaning: Wipe down the table with a gentle cloth and pick up spills right away to stop water from soaking in.
- Avoid direct sunlight: Keep the table out of bright sun and far from heat sources to stop drying and cracking.
- Seal the edges: Use a wood cover to keep the sides safe from wetness and damage like polyurethane, varnish, or lacquer.
-
Control temperature: Have a steady room heat between 60°F and 75°F to avoid strain on the wood.
Use a wood conditioner: Apply softener often t͏o help keep the wood wet and stop cracks. - Choose the right wood: Hardwoods such as oak and maple are stronger and less likely to break than softwoods.

How to prevent splitting wood table top
Photo: Freepik
4 Common Mistakes that Cause Split Wood Table Top to Avoid
There are some common mistakes to avoid as they will ruin the table surface:
1. Using too little glue (not holding): If you don’t use enough glue, the bond won’t be strong enough to keep the repair, and the piece will fail over time. Make sure you use enough glue to cover the entire split when clamped.
2. Forgetting to clamp (bond will be weak): If the split isn’t clamped when the glue is drying, it will dry with the full width open, and if needed, clamps can go over the edges of the pieces.
3. Letting glue squeeze-out dry (hard to remove later): Preventing glue squeeze-out is a pain when the glue is allowed to dry on the surface, and can cause problems on the surface. Remove the glue applicator immediately.
4. Not sanding and refinishing (leaves visible repair): As a result of the repair, not sanding and refinishing will leave a big, ugly blemish. The surface must be sanded and finished to the same specs as the rest of the table top.
FAQs
1. How to Fix Splitting a Wood Table?
If you have a split wood table, here’s how to fix it.
- First, you have to clean out the split with a pick or needle to remove any dirt or old glue.
- Then, apply wood glue into the crack and press the wood pieces together.
- After that, you should use wood clamps to hold it in place and let it sit for 12-24 hours to dry.
- Once dry, sand it down and finish with oil, wax, or varnish to bring it back to its former glory. If the split is too wide to close completely, you can fill the gap with wood filler after you’ve glued it.
2. How to Fix a Cracked Wood Table Top?
In case of a cracked table top, you first need to clean up the split in your table. You may even need to open the split just a little wider to get all the crud out. Next, squeeze some wood glue into the split and make sure it gets down inside.
If the crack is deep or structural, you may want to reinforce it with a butterfly key or bowties (a small wooden insert) to add strength. After everything has dried, you need to sand the area so that it is smooth and put on a finish to match the rest of your table.
3. Is Wood Filler Good for Cracks in Wood?
Yes, wood filler works well for small, non-structural cracks where appearance matters more than strength. It’s good for filling gaps and can be sanded and stained to blend in. However, for splits that need to stay firmly closed, we highly recommend you to combine wood glue with clamps as a stronger solution.
If you need help with repairing a split wood table top or have any questions, feel free to reach out. We're here to guide you through the process and ensure your table looks as good as new. Contact us at +1(213) 834 1213 or email us at contact@lumbergrand.com for personalized advice and assistance.
Knowing how to repair split wood table top can save your furniture and restore its beauty. By following the proper steps of cleaning, applying glue, clamping, and refinishing, you can achieve a strong and seamless repair. Avoid mistakes like using too little glue or skipping sanding to ensure the best results. With the right technique, your table will be as good as new and last for many more years.

