Looking for how to attach metal legs to a wood table top? After helping folks with their table projects for years, we can tell you that attaching metal legs doesn't have to be intimidating at all. To attach metal legs to a wood table top, you’ll need threaded inserts and bolts for a flush finish that holds up over time. This threaded insert method works great on hardwoods, softwoods, plywood, and engineered wood.
In this guide, Lumber Grand will walk you through our 5 easy steps for how to attach metal legs to a wood table top DIY. We'll go slow, explain everything clearly, and by the end, you'll have a table that's built to last. Read more!
4 Key Takeaways to Attach Metal Legs to a Wood Table Top
-
What you'll need: Basic tools you likely already have at home such as drill, Allen key, pencil, and painter's tape. The materials include 6 threaded inserts, 6 bolts (30mm), and metal legs with mounting plates. Total cost is minimal since most tools are common household items.
-
Why use threaded inserts instead of screws? The threaded insert method gives you a clean finish with no screws on the surface. It's stronger and allows for easy leg removal or replacement later.
-
How long does this take? About 15 minutes once you get started. The process is straightforward: mark positions, drill 6 pilot holes, install threaded inserts, and bolt the metal legs to the wood table top.
-
What we'll show you: We'll guide you through 5 simple steps with clear instructions. Plus, we cover the 3 most common problems (wobbly legs, wood splitting, uneven placement) and exactly how to fix them if they occur.
How to Measure Table Leg Placement Correctly
Proper leg placement doesn’t just affect how your table looks. Also, it impacts stability, legroom, and overall comfort. Therefore, before you trace or drill anything, take a few minutes to measure accurately.
-
Start with overall table size: For a standard 55 — 63 inches (140 — 160 cm) table, you place legs about 6 – 8 inches (15 — 20 cm) from the ends. This leaves space for chairs and improves legroom at the corners.
-
Leave an inset from the side edges: You put each leg 3 to 4 cm from the side edge. If you place it too close to the edge of the table, the risk of cracking increases.
-
Use a square or template: This keeps the legs aligned evenly and helps avoid measuring mistakes.
-
Double-check symmetry: Remember, you need to measure twice from multiple edges. Because when you measure for the first time, there may be errors.
How to Attach Metal Legs to a Wood Table Top in 5 Simple Steps (Threaded Insert Method)
If you're looking for how to attach metal legs to a wood table top without screws, this threaded insert method gives you a strong, clean finish. You only need a few basic tools and a bit of measuring.
Step 1: Prepare Tools and Materials for Attaching Table Legs
Before you start, you need to get everything ready to avoid stopping mid-project.
|
Tools you’ll need |
Materials |
|
|
Step 2: Mark Leg Positions on the Underside of the Table Top
Once your tools and materials are ready, the next step is to decide exactly where the legs should go.
-
First, you flip your table top upside down on a soft surface.
-
Next, you place the first metal leg where you'd like it installed.
-
Then, you use a pencil to mark the 3 pre-drilled mounting holes.
-
Repeat for the second leg on the opposite side.
Tip: We recommend that you use a square or tape measure to double-check that both legs are centered and evenly spaced. Leave about 3 — 4 cm from the edge for legroom and drilling clearance.
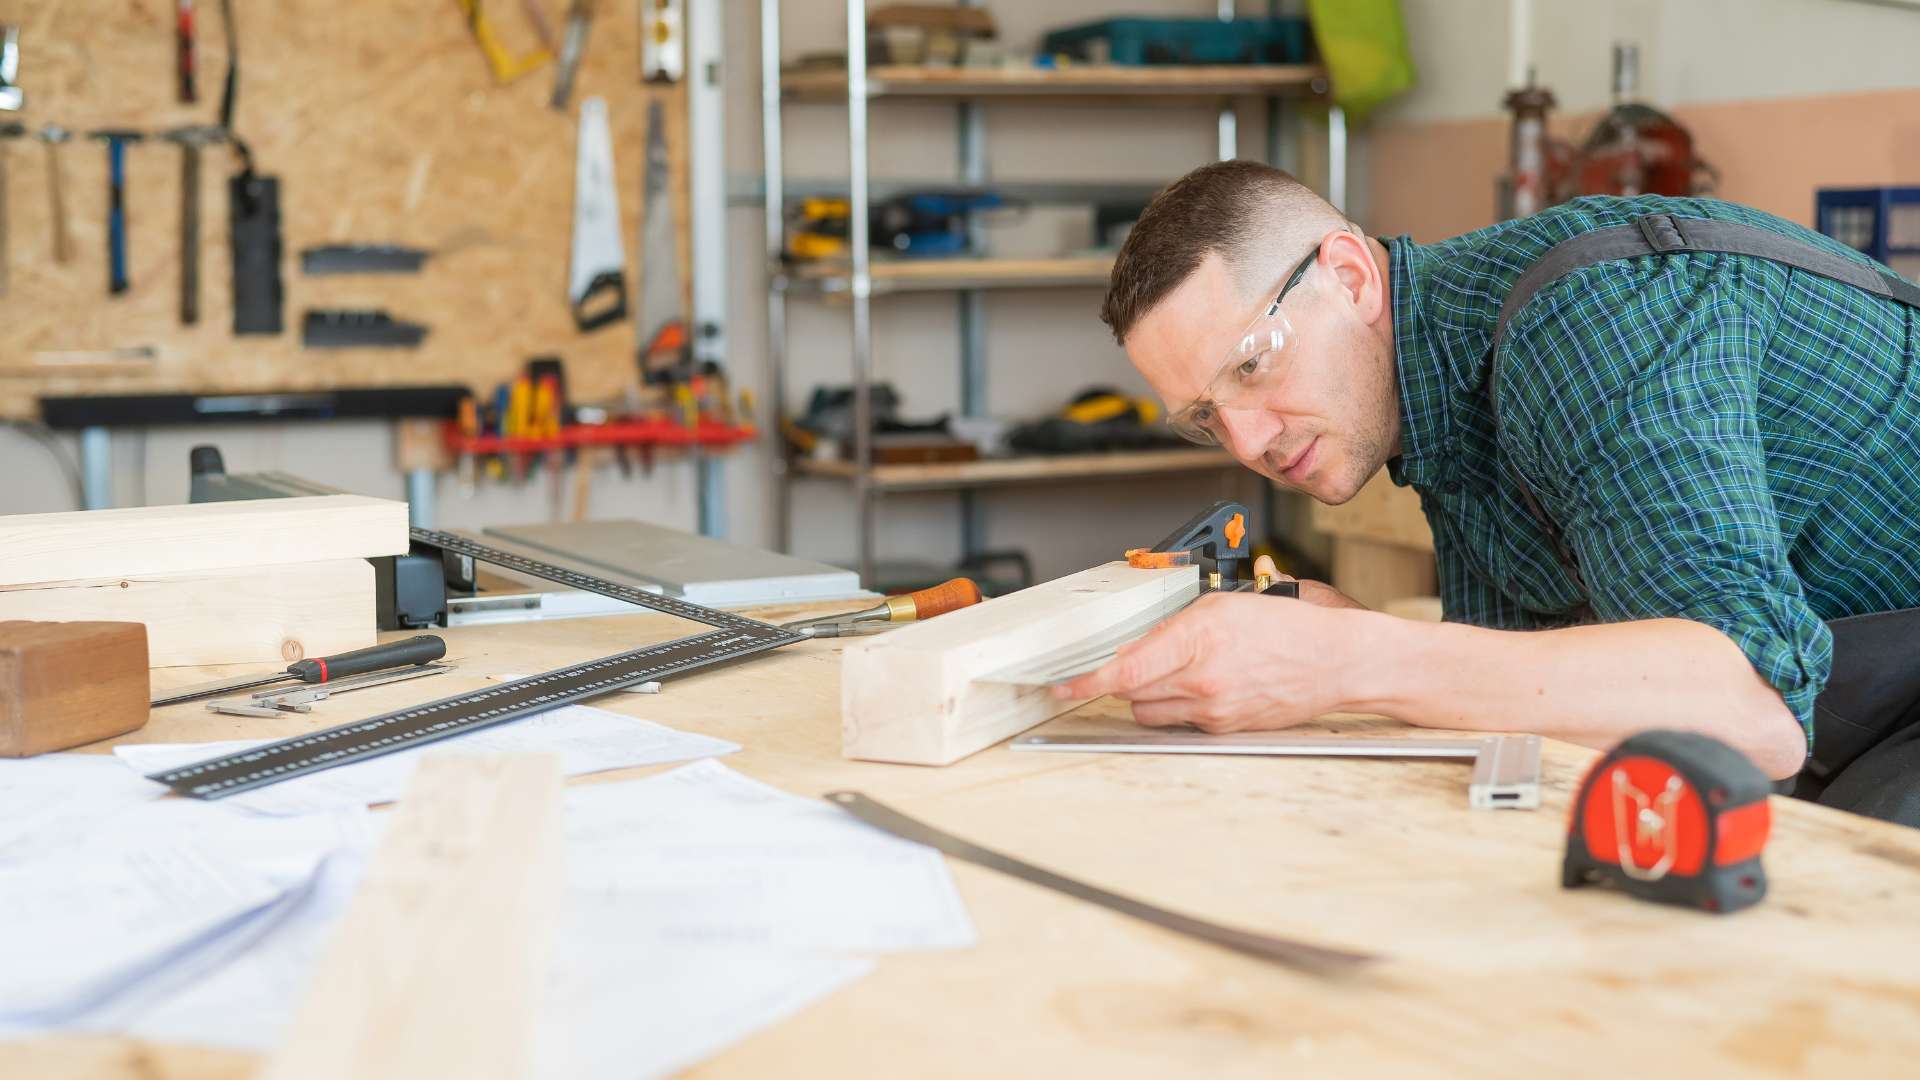
Marking the correct leg positions
Photo: Freepik
Step 3: Drill 6 Pilot Holes Without Splitting the Wood
With the leg positions marked, we will now drill pilot holes where your inserts will go. These holes must be accurate to keep the legs aligned and the inserts flush.
-
You wrap painter’s tape around your 10 mm drill bit to mark a 10 mm depth.
-
Carefully drill straight into each pencil mark, 3 holes per leg (2 holes on the sides and 1 hole in the middle), 6 total. Make sure each hole is clean and flat at the bottom.
Note: When you drill, wood chips can fly up and get into your eyes, so wear safety glasses and hold onto the work surface while you work.

You need to be careful of wood chips flying up when drilling.
Photo: Freepik
Step 4: Install 6 Threaded Inserts for Maximum Strength
On the 4th step of how to attach metal legs to a wood table top, you’re ready to insert the threaded anchors.
-
First, you place a threaded insert into each drilled hole.
-
Then, you insert your Allen bit into the drill or use a manual Allen key. Drive each insert slowly, keeping it level.
-
Stop when the insert sits just below the surface.

A drill allen bit can help you insert threaded anchors easily
Photo: Lumber Grand
Step 5: Securely Attach 2 Metal Legs Using 6 Bolts
With the inserts installed, the last step is to bolt the legs into place. This is where everything comes together, and where precise alignment makes a big difference.
-
Position the first leg back over the drilled insert holes.
-
After that, you thread one bolt into each of the 3 holes using the Allen key or drill bit.
-
You repeat the process for the second leg.

The last step is to bolt the legs into place
Photo: Lumber Grand
Over time, we’ve learned that screwing metal legs directly into pilot holes offers the most reliable hold without damaging the wood. It’s simple, strong, and works well with our wood dining table top. Therefore, it is very suitable for families looking for a dining table or desk.
Discover More Desk Top Styles for Every Space
3 Alternative Ways to Attach Metal Legs to a Wood Table Top
If you're looking for alternative ways of how to attach table legs with bolts, we will show you 3 options, each with its pros and trade-offs. Some methods work well for decorative tables, while others are better.
Here’s a quick breakdown of three common table leg attachment methods:
|
Method |
Pros |
Considerations |
|
Threaded inserts (recommended) |
Strong hold, removable, no surface screws |
Require accurate drilling and alignment |
|
Mounting plates with adhesive |
Easy to install, no tools needed |
Less durable over time and not ideal for heavy use |
|
Structural glue (e.g., epoxy) |
Fully hidden connection, no metal shown |
Permanent bond; repositioning not possible |
In our years of building epoxy table, we've tried every attachment method such as brackets, construction adhesive, even expensive specialty hardware. But nothing beats the bolt-in insert method for tables that actually get used.
After just two months of normal family use, the glue-on legs started loosening. Every time someone leaned on the table or the seasons changed, those legs got a little wobblier.
That's why we now stake our reputation on threaded inserts and bolts, especially for our premium epoxy and live-edge slab tops. The bolt-in method gives them that rock-solid stability they deserve, plus it looks completely professional when done right.
Read more: How to make a wood table top
3 Famous Metal Table Leg Attachment Problems and How to Solve
Even with the best tools and materials, you might run into a few issues while learning how to attach metal legs to a wood table top. Below are the most common problems people face, along with simple, practical fixes.
1. Wobbly Table Legs
Wobble usually happens when the legs are slightly misaligned or the bolts are not tightened evenly. This often occurs when legs are positioned without measuring or tightened in the wrong order. You refer to the fix below:
-
First, you should loosen all the bolts a little.
-
Then, you re-seat the leg so that it aligns with the insert holes evenly.
-
Tighten each bolt gradually in alternating order, not all at once.
-
Last, you need to test for wobble again by pressing each corner of the table.
2. Wood Splitting While Drilling
Wood may split if you drill too deeply, too fast, or too close to the edge. This is more common with soft timber or thinner slabs. To fix it, you should follow the guide below:
-
Before you drill, you should wrap painter’s tape around your drill bit to mark your target depth.
-
You stay at least 3 to 4 cm from any edge when placing leg inserts or bolts.
-
Drill slowly using a brad point bit to keep the hole clean and centered.
3. Legs Sit Unevenly
Legs can appear uneven if one or more threaded inserts are installed at an angle. This creates an unstable base and may cause rocking. How to fix below:
-
First, you remove the bolts and the legs.
-
Then, you back out the tilted insert using the same Allen tool.
-
Re-drill the hole carefully, keeping the drill fully vertical.
-
After that, you reinstall the insert slowly and check that it sits flat before tightening again.
These are the 3 common mistakes that customers at Lumber Grand often encounter when purchasing our table tops for their work or dining space. Therefore, we recommend that you understand all of them to avoid when you attach metal legs to a wood table top.
FAQs
1. Where to Place Table Legs for Stability?
You should place each leg 3 – 4 cm inward from the edge of the table top. For standard tables (140 – 160 cm long), you space the legs evenly near the ends, leaving enough clearance for seating. If your table is especially long, you may consider a third center leg or stretcher bar for added support.
2. What is the Best Way to Attach Legs to a Wooden Table?
The best way to attach legs to a wooden table is to use threaded inserts and bolts. This avoids surface screws, creates a clean finish, and gives long-term stability. It also makes it easy to replace or adjust the legs later.
3. What is the Best Way to Attach Metal to Wood?
The best way to attach metal to wood is with metal mounting plates with threaded inserts or epoxy adhesive. Bolts provide the strongest grip, while adhesive works for light-use furniture.
4. What is the Best Glue for Wood Table Legs?
The best glue for wood table legs is structural epoxy or Titebond III wood glue. Keep in mind that glue creates a permanent bond and isn’t ideal for tables that need to be disassembled or bear heavy loads.
5. How to stabilize metal table legs?
You check that all bolts or inserts are tight and properly aligned. For uneven floors, you add felt pads or adjustable leveling feet to the bottom of the legs. If the wobble remains, you inspect whether the leg plate or insert is tilted and reinstall as needed.
How to Attach Metal Legs to a Wood Table Top: Guide Ends Here
Moreover, if you want to skip drilling or sanding, our ready-to-install epoxy table top come leveled, sealed, and designed for this type of setup. Furthermore, you can find more DIY tutorials on the Lumber Grand blog, including guides on assembly, refinishing, and picking the right table top for your space.
Now you know how to attach metal legs to a wood table top without using screws on the surface. The threaded insert method gives a clean look and strong hold, perfect for any wood or epoxy slab. It’s easy, fast, and works for first-time builders. Thank you for reading!


