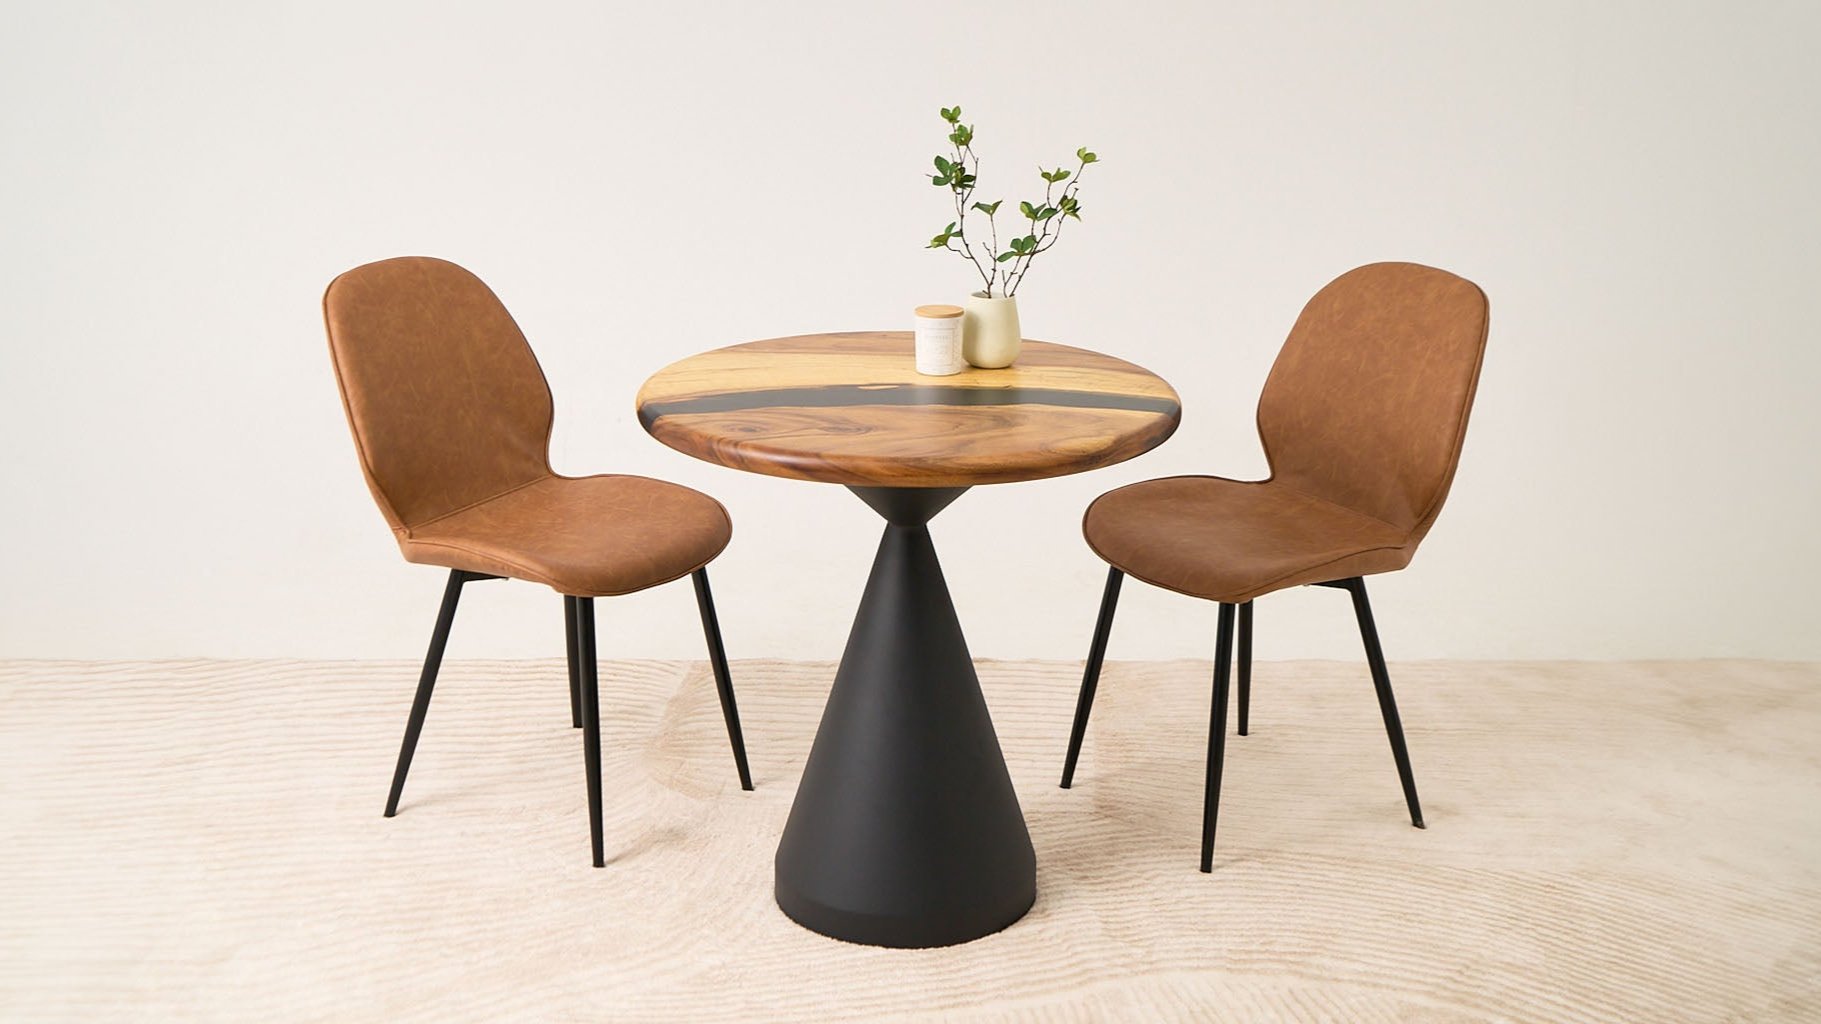
If you think how to paint a wood table is complicated, time-consuming, and challenging, this article will change your mind. You can easily transform an old wooden table with just a few simple steps.
All it takes is a little creativity, some spare time, and the right painting for table method. That’s enough to turn a worn-out table into a stunning focal point in your home. Please don’t rush to throw it away or spend money on a new one. Lumber Grand has put together 6 clear, mess-free steps to help you refresh your table at home. Read more!
When to Paint a Wood Table? 4 Key Signs to Look For
Not every wood table needs a fresh coat of paint all the time. But if you notice one (or more) of the signs below, it’s the perfect moment to kick off your DIY painting project:
-
Peeling or cracking paint: Flaking or cracked paint makes your table look old and worn, while also leaving it more vulnerable to damage. This is a clear sign it’s time for a makeover.
-
Faded or dull color: Over time, sunlight, humidity, and daily use can cause the finish to lose its vibrancy. A new coat of paint will instantly bring it back to life.
-
Scratches and stubborn stains: If your table is covered in deep scratches or stains that just won’t come out, painting is the quickest way to refresh and protect the surface.
-
Wanting a new style: Sometimes, your table is still in great shape, you just want a change. A fresh color can instantly turn it into a statement piece that fits your updated décor.
If this is the moment to repaint your wood table, the how to paint a wood table guide below will walk you through how to choose the right paint and every step of the process.

A peeling finish can make your wood table look worn and less appealing
Photo: Freepik
Learn more: How to Restain Wood Furniture
Paint Types Explained: What You Need to Know Before Buying
When it comes to wood paint for dining table, you’ll find many options, such as oil, water, or chalk paint. So, which one is truly the best paint for wood table? To help you make the right choice, Lumber Grand has summarized each type's key pros and cons in the table below.
|
Paint Type |
Pros |
Cons |
Recoat Time |
Best For |
|
Oil-based paint |
|
|
24 hours |
Most durable paint for kitchen tables, work tables, or frequently used furniture |
|
Water-based paint (Acrylic/Latex) |
|
|
2 — 4 hours |
Decorative tables, indoor tables |
|
Chalk paint |
|
|
1 — 3 hours |
Vintage or handmade-style tables |
How to Paint a Wood Table: 6 Step-by-Step Beginner Tutorial
Now that you know which paint is suitable, it's time to get your hands dirty and paint your wooden table. Follow these six steps to create a new and striking version of your old table.
Step 1: Prepare Tools & Workspace and Remove Hardware
Before painting your table, you’ll need to gather some essential supplies.
Tools and materials checklist:
-
Wood paint (Check out the chart above to pick the perfect option for your table)
-
Primer
-
Sealer or topcoat
-
Wood filler (to repair cracks or small holes in the table, if any)
-
Sandpaper or an electric sander
-
Paintbrushes and rollers
-
Paint tray
-
Paint stripper (if your table has old paint)
-
Painter’s tape
-
Screwdriver
-
Clean cloth
-
Gloves and a mask

Repaint dining table tools
Photo: Freepik
After that, prepare the area for your DIY how to paint a wood table project. Certain oil-based wood paints can smell strongly, so ensure you work in a well-ventilated area. Choose a dry, well-lit spot to see the surface as you paint clearly.
Then, take off the table legs and any hardware that is attached. Applying painter's tape to the areas you don't want the paint to touch is an additional choice.

The first step in how to paint wood furniture is to gather tools and remove hardware
Photo: Freepik
Step 2: Clean the Wood Surface
Cleaning your wood table top is necessary for a flawless paint finish. Use a clean cloth to wipe away any remaining dust. For greasy or sticky spots, use a damp cloth with a bit of diluted mild dish soap to clean the surface thoroughly.
If your table has an old paint or finish layer, you’ll need to add an extra step here. First, check whether the old paint or finish is chipped or peeling. If the old layer is still good, clean the surface and move to the next sanding step. But if the old paint or finish is chipped, cracked, or patchy, it’s best to remove it before applying new paint.
-
For old paint: Apply a paint stripper to soften the old paint, then scrape it off
-
For old finish: You can use medium-grit sandpaper to take off the finish and switch to fine-grit sandpaper to smooth the surface.

How to paint a wood table with old paint layer
Photo: Reeves
Related blog: How to Clean a Wood Table that is Sticky
Step 3: Sand and Repair to Smooth the Surface
The 3rd step is to smooth the surface with sanding and repair if needed.
-
Use 120-grit to lightly sand any rough areas, then smooth them out with 150-grit.
-
Once sanding is done, look closely at the table surface for cracks or small holes. You will need to use wood filler to fill these defects to make the surface smoother.
-
After that, use 220-grit sandpaper to sand the entire surface again to make it smooth. Don't forget to use a tack cloth to wipe all dust
Note: Always sand in the direction of the wood grain to ensure the best finish and avoid scratches that could show through the paint

You can’t paint furniture without sanding
Photo: Freepik
Step 4: Apply the Primer
Why primer? As you may know, a primer helps the paint adhere better and creates a smoother, more even color. Let's choose your primer based on your table's condition:
-
Water-based primer (latex): It works well if your table is in good condition with no strange odors. It usually takes about 30 minutes to dry to the touch and 1 — 3 hours before you can paint
-
Oil-based primer: Oil-based primers provide moderate odor blocking, but will take longer to dry. It usually takes 1–2 hours to dry to the touch and up to 24 hours before applying paint.
-
Shellac-based primer: Shellac is the best choice if your wood table smells unpleasant. It will create a film to lock in the odor effectively. We also recommend it for its quick drying time, around 15 — 30 minutes to touch and ready for paint in about an hour.

Apply primer before applying paint for repainting furniture
Photo: Freepik
Here's how to do it:
-
Apply a thin, even coat of primer over the table top first, then move on to the legs. A roller works best for the table’s flat surface, while a brush is handy for the legs and hard-to-reach areas.
-
Once applied, let the primer dry according to the product instructions.
-
After the primer has dried, use fine-grit sandpaper (220 grit) to gently smooth the surface and use a fresh cloth to remove any remaining dust. Your table is now ready for painting in step 5.
Note: Always follow the product instructions, and wear a protective mask when working with oil-based or shellac-based primers
Read more: How to Paint Laminate Table Top
Step 5: Paint the Wood Table
After reading our analysis table above, you may have chosen the right paint for your needs. Here, we will guide you on how to apply paint correctly and note the specifics for each type of paint. Most paint will need two coats to achieve full coverage and the right color. However, add a third coat if the shade isn’t quite there yet.

How to paint a wood table black with a brush
Photo: Freepik
Here is a detailed instruction:
-
First, stir the paint thoroughly to achieve an even color and consistent coverage
-
Next, to have better control over the amount of paint deposited, pour the paint into a roller tray
-
Then apply a thin coat of paint to the entire surface. Roll or brush in the wood grain direction to ensure an even finish. You should use a brush for corners or small areas the roller cannot reach.
-
Let the first coat dry thoroughly according to the manufacturer's recoat time before applying the next layer
-
After that, lightly sand between coats with 220-grit sandpaper to smooth the surface and help the paint adhere better
-
Wipe away any dust or debris with a tack cloth
-
Then move to your second coat. Apply an even layer of paint across the entire surface
Note: The application method for all three types of paint is the same, but you will need to pay attention to the following:
-
Water-based paint dries quickly, so you must apply it quickly and evenly to avoid leaving brush marks.
-
Oil-based paint has a strong smell, so wear a protective mask. You must also use a solvent such as mineral spirits/turpentine to clean up the brush and roller.
-
Chalk paint dries quickly, so apply thin layers to avoid cracking or clumping.
Step 6: Seal and Protect
The sixth step is to apply a protective sealer. It adds durability, seals in your hard work, and guards against problems like scratches, water damage, and chipping. You should pick a sealer based on its durability and your needs.
|
Seal Type |
Recommend Coats |
Durability |
Between Coat Time |
Fully Cured |
Suitable for |
|
Water-based polyurethane |
3 |
Medium-high |
2 — 4 hours |
Up to 14 days |
Light-colored indoor tables |
|
Oil-based polyurethane |
2 (for indoor) 3 (for outdoor) |
High |
6 — 10 hours |
Up to 1 month |
Dining tables, desks, or high-use wooden furniture |
|
Polycrylic |
3 |
Medium |
At least 2 hours |
2 — 3 weeks |
Decorative pieces |
|
Wax |
2 — 3 |
Low |
30 minutes |
5 — 10 days |
Decorative pieces |
Read more: Oil vs Water Based Polyurethane
Here's how to apply the sealer:
-
Apply thin coats as you would paint
-
Sand lightly with 220-grit between coats
-
Wait for the previous coat to dry before applying the next coat

Apply the sealer to protect the painting for table
Photo: Freepik
You might like: Best Finish for Dining Table
4 Common Mistakes to Avoid in Painting a Wood Table
When painting a DIY wooden table, there are some common mistakes that many people often encounter. Here are 4 common mistakes you should avoid to keep your wooden table looking as good as new:
-
Not preparing the surface well before painting: Not cleaning or sanding the surface thoroughly can cause the paint to peel or not adhere well. A dirty surface can also make the final paint result unattractive.
-
Not using primer before the main paint layer: Skipping the primer step in how to paint a wood table can cause the paint to be patchy and uneven in color.
-
Applying too thick a layer of paint in one layer: Avoid applying too thick because it can cause the paint surface to bubble, run, or dry unevenly. You should use many thin layers of paint to achieve the desired color shade.
-
Not giving enough time between coats: Applying a new coat before the previous coat is dry can cause moisture to build up. This can cause the paint to wrinkle and peel.

Proper prep, careful painting, and the right finishing steps will help your table last longer
Credit: Lumber Grand
Shop now: RANDOM RECTANGLE COFFEE TABLE - Complete Sets, Natural Wood Grain
FAQs
1. What Kind of Paint do You Use on a Wood Table?
You can use water, oil, or chalk paint for wooden tables. Oil-based paint will be more durable, but will take longer to dry. Water-based paint dries faster but is not as durable. Chalk paint with a matte finish is ideal for vintage enthusiasts.
2. Can You Just Paint Over a Wooden Table?
Yes, you can paint over a wooden table. However, the paint will not last as long as you have cleaned, sanded, and removed the old paint.
Read more: How to Remove Paint from Wood
3. Can You Paint a Wood Table Without Sanding?
You can use a bonding primer to help the paint adhere better in how to paint a wood table without sanding. However, the surface will not be smooth without sanding and may result in a less-than-perfect finish.
4. Is it Better to Brush or Roll Paint on a Table?
Brush or roll paint is both good and depends on the case. We use roll paint for large, flat surfaces because it applies evenly and quickly. Brushes are used for small areas that a roller can’t reach or require more precision.
How to Paint a Wood Table: Guide Ends Here
Painting a wooden table isn’t as difficult as you might think. Just follow the simple steps we’ve shared:
-
Remove hardware and accessories
-
Clean the surface and remove old paint
-
Repair cracks (if any) and sand for smoothness
-
Apply primer for better paint adhesion
-
Paint in thin, even coats
-
Seal the paint with a protective topcoat
And that’s it! Don’t forget to save these tips on how to paint a wood table to refresh your old table perfectly. If you want more fun and practical DIY ideas, visit our blogs. Goodbye and see you next time!


