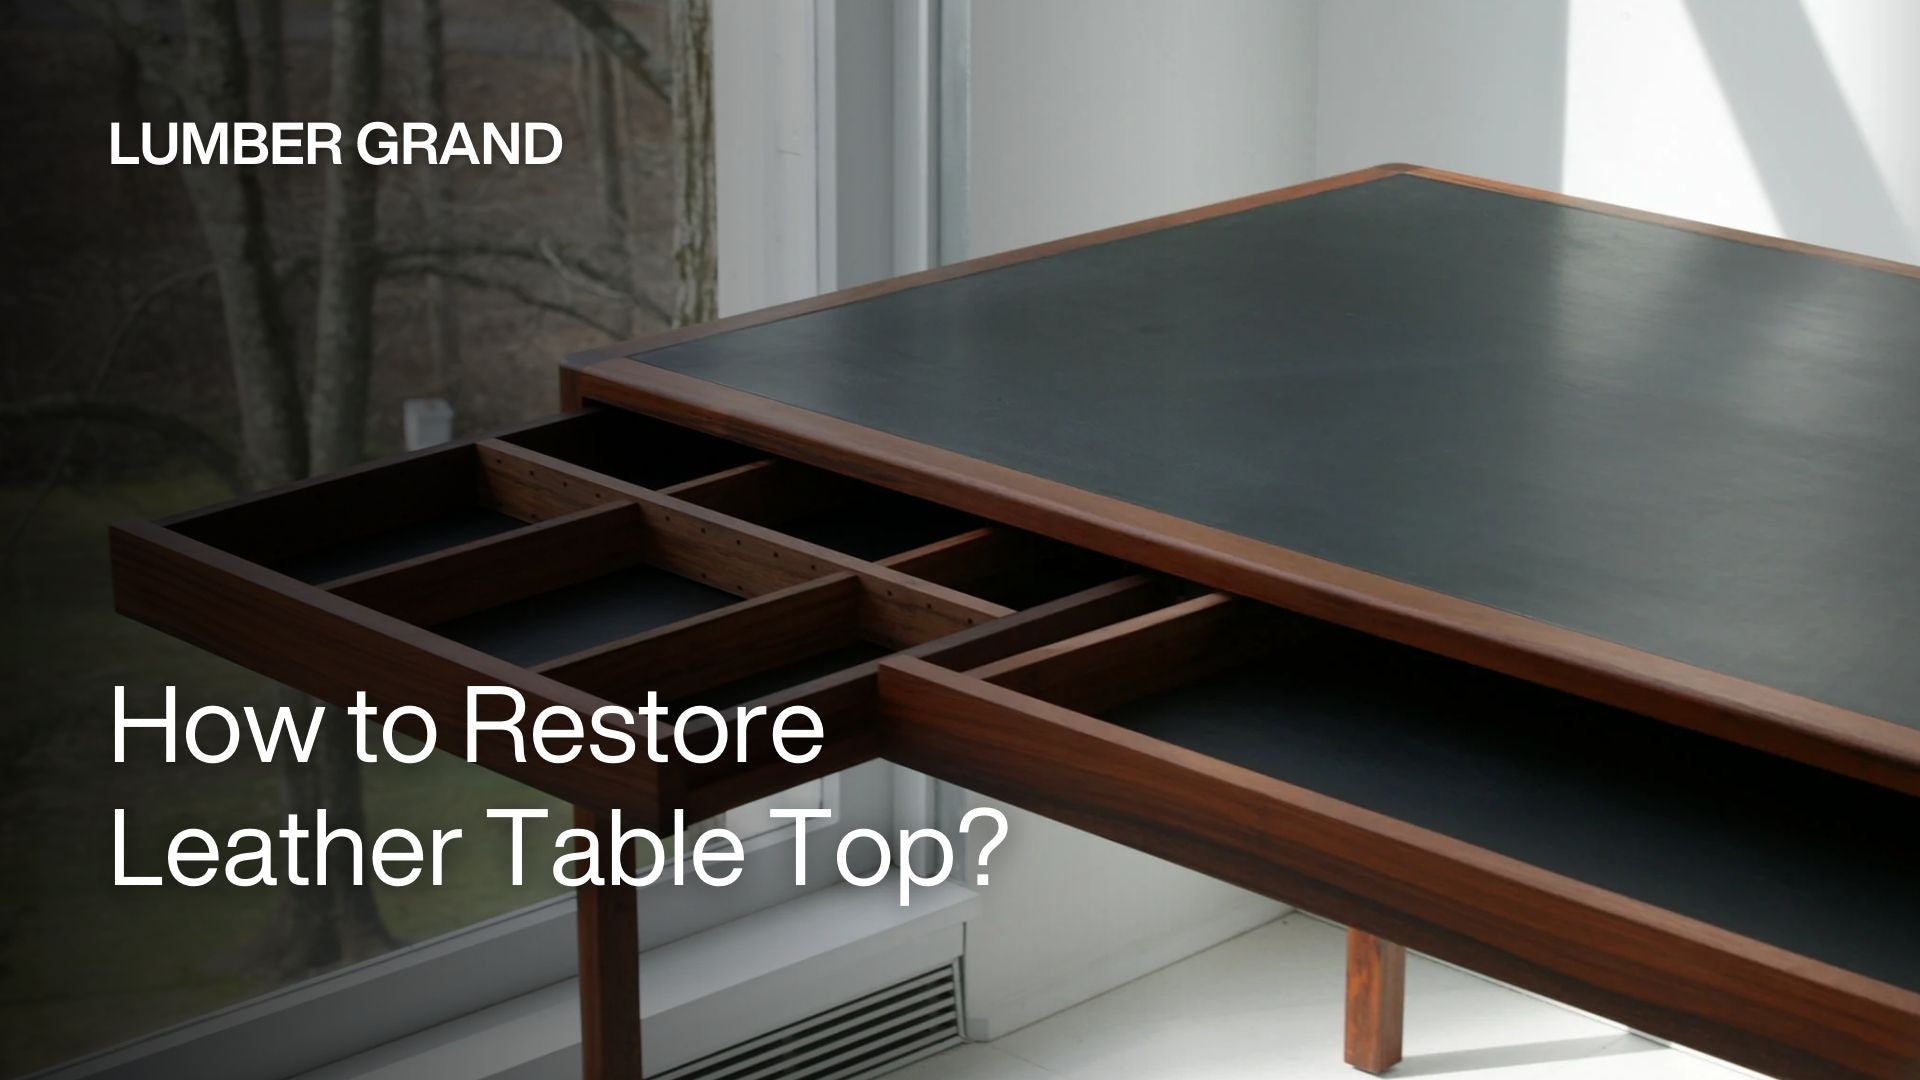
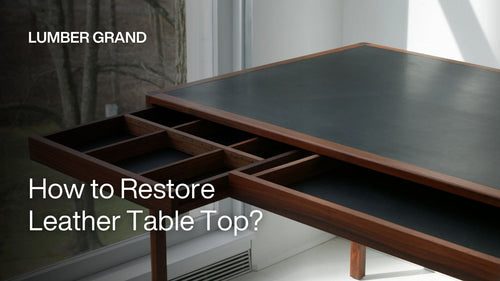
Is your leather table showing its age? Here's how to restore leather table top in a few quick steps!
Leather furniture adds beauty and warmth to every household. However, over time, heat and humidity, along with daily usage, can take their toll. Your leather table is most probably suffering from an ailment that causes dryness along with cracks and fading.
In this guide, Lumber Grand will provide you with easy, practical instructions to restore cracked leather tabletop in a few simple steps. With some basic supplies and a bit of patience, you can bring back the natural beauty of your leather table and extend its life for many more years of enjoyment. Read more below!
Why Leather Table Tops Deteriorate Over Time?
Your leather table top is awesome, but it’s getting beat up over time. A bunch of things can mess it up, like sunlight, weird weather, dirt, scratches, or hot stuff touching it.
Let’s go through each one so you know why your table’s looking rough and what’s hurting it. And then we can learn how to restore leather table top in the next section.
1. Sunlight
If we take your leather table on a field trip outside to sunbathe, it will only help your table if you are planning to abandon it. The rays of the sun ruthlessly carve into the leather, roughing it up, making it look like dry skin.
What is worse is that the sun literally ‘drinks’ the natural oil the leather contains, which keeps it supple and soft. Craving oils will make the leather hard, brittle, and break apart like an old corpse.
If your table is within the radius of a window being blasted with sunlight, it’s as good as done. But no worry, as you’re in our expert's guide on how to restore cracked leather table top, we can help you solve it below!
2. Hot, Cold, Wet, or Dry Weather
The weather can be a real pain for your leather table. If it’s super hot or super cold, or if the air keeps switching between wet and dry, the leather doesn’t know what to do.
Too much heat or dry air makes the leather dry out, crack, and split, like when your hands get chapped in winter. If it’s too wet, like in a damp room, mold or mildew can start growing on the leather.
3. Dirt, Dust, and Oil Buildup
Every time you come in contact with your table, a little bit of oil is left from your hands. That's something expected, especially when using your hands. But after a while, the oil will accumulate into a much bigger problem that needs cleaning and scrubbing.
Not to mention, dust floating around in the air sticks to those oily spots, and soon you’ve got a layer of gunk building up. Those oily patches keep pulling in more dirt, and before you know it, your table’s taking a beating from all this mess.

Your leather table is aging faster than you think!
Photo: Bernacki Associates, Inc.
4. Scuffs and Scratches
A child's toy, plates, or even keys can inflict scratches on the surface of your table, especially if they rub against it. Leather is no different, having a protective shield akin to a peelable barrier.
If that shield gets scratched off, the vulnerable leather beneath is expected to receive further abuse. Those scratches can turn into tears or leave permanent marks that make the leather table look old and worn out
5. Burns and Hot Things
Your leather table suffers greatly, and bare hands on hot things don't help. Take, for instance, a steaming coffee cup, a plate straight out of the oven, or even cigarette ends.
That heat can burn the leather and leave dark, ugly marks that won’t come out, no matter how much you clean. Those burns are permanent, so you’ve got to keep hot things off the table to stop it from getting scarred up.
Essential Tools and Materials
To save time on how to restore leather table top, you need to prepare the right materials and tools, as each step matters to bring out both beauty and durability for your desk leather restoration:
1. Mild leather cleaner: To get rid of surface debris without removing oils on cracked leather table top, you must use a pH balanced cleaner or a solution of natural soap and water.
2. Leather conditioner: By replacing lost oils, a high quality conditioner restores softness and guards against further cracks.
3. Leather filler palette knife: Filler putty fixes deep gouges and scratches. In contrast, a palette knife lets you spread the putty evenly across the damaged area, ensuring a smooth finish without creating lumps or ridges.
4. Sandpaper: Use 320 grit sandpaper to help you get rid of leather fillers and surface flaws. Sandpaper with a grit of 400 to 600 should be used to create a smooth surface for corrections prior to applying paint or sealant.
5. Leather dye or colorant: With thin, layered applications of custom-mixable dyes, you may restore lost color for a perfect match.
6. Protective sealant or wax finish: There are several options for securing and shielding repairs from spills, moisture, and UV rays. These include beeswax, which gives leather a smooth, matte feel, and polyurethane sealants, which are also known for their durability. Finally, carnauba wax offers water resistance.

These items are your leather’s lifeline
Photo: ©Atlas Studio on Canva.com
How to Restore Leather Table Top? 5 Easy DIY Steps
Desk leather restoration can revitalize a treasured piece of furniture and bring back its original appearance. There are 5 key steps on how to restore cracked leather table top:
Step 1: Cleaning the Leather Surface
Before you try any repairs or recoloring, be sure your table surface is clean. To remove any loose dirt, use a soft-bristle vacuum attachment or a lint-free cloth. Test the leather in a small segment to ensure it won't damage or discolor the hide.
After that, wipe the entire surface with soft circular strokes, focusing especially on greasy or discolored areas, until the leather feels clean.

Creating a clean base for restoration
Photo: ©Matilda Wormwood on Canva.com
Step 2: Repairing Scratches and Cracks
Light scratches can often be smoothed by removing stray fibers and lightly sanding the area with 1200 - 1500 grit paper. You need to use a palette knife, evenly apply leather filler putty to deeper gouges, building up the surface to match the original shape.
Once the filler has completely dried, gently sand it smooth with 1200 grit sandpaper before continuing.
To fix small cracks, you apply leather repair compound or tiny beads of super glue directly into the deepest part of each crack. We recommend you sand any excess using 600 to 800 grit sandpaper for a smooth finish.

Repairing leather table top damage
Photo: Just the Woods
Step 3: Bringing Back the Color of Your Leather Table Top
Now that your table’s scratches are fixed, let’s make the color look nice and even again. Get some leather dye that matches your table’s color.
First, you need to test a little dye in a hidden spot, like under the table, to make sure it looks good and doesn’t mess up the color. If you feel okay with it, grab a sponge or a soft cloth and spread a thin layer of dye all over the table.
We recommend NOT piling it on thick, just a light coat is enough. Let each layer dry all the way before you add another one (take your time here).
If you’re in a hurry, you can use a hair dryer on low heat to dry it faster, but hold it a few inches away and don’t let it get too hot, or you could hurt the leather. Keep adding thin layers until the table’s color looks smooth and matches everywhere.

How to restore cracked leather color with leather dye
Photo: Wright and Rede
Step 4: Keeping the Leather Soft
So, the color of your leather tabletop is back and looking great. You need to keep the leather soft and strong with some conditioner. Pick a conditioner that’s made for your table’s kind of leather. There are types like aniline, semi-aniline, or colored, so make sure it’s the right one.
Before you start, put a tiny bit of conditioner on a hidden spot, like under the table, to check that it won’t mess up the color. If it looks fine, take a clean microfiber cloth and dab a little conditioner on it. Rub it gently all over the table, going with the leather’s natural pattern, so it soaks in nicely and evenly.
This locks in the new color and stops the leather table top from drying out or cracking. Let it sit for a bit to soak in, and your table will stay soft, shiny, and ready to last a long time.

How to restore leather table top in just 5 steps
Photo: Allison Moore Guerrilla Gardening Design
Step 5: Protecting the Finish
This is the last step on how to restore leather table top effectively. You need to put on a thin layer of wax or sealant to protect it. You can start by grabbing some leather sealant and spreading a thin layer all over the table with a soft cloth.
Let it sit until it feels a little sticky, not totally dry. Then, take a clean, soft cloth and gently rub the surface in circles. This gives your table a nice shine and makes it tougher against spills and scratches.
For complete coverage, use tiny circular strokes to apply wax finishes like carnauba, which offer water and UV resistance. Reapplying frequently will keep your leather table surface protected and shiny.

Finishing touch for lasting protection
Photo: Priory Polishes
Maintenance Tips to Prolong Leather Table Top Life
Maintaining your leather table top looks great, which means regular maintenance, like conditioning the surface and protecting it from spills. The easy tips listed below can help you avoid more harm and preserve the results after exploring how to restore leather table top properly:
- Weekly dusting and vacuuming: To prevent scratches over time, dust and vacuum the table frequently with a soft cloth to avoid abrasive wear and debris buildup.
- Immediate spill cleanup: Spills must be cleaned up right away with a fresh absorbent material or dry towel to avoid moisture damage and discoloration. Avoiding rubbing is also essential because it can disperse liquids and exacerbate stains.
- Regular conditioning: The leather table should be conditioned every 6 to 12 months to restore oils lost through wear and cleaning.
- Use coasters and placemats: You should use coasters or mats whenever possible to shield hot plates and mugs from high temperatures coming into direct contact with the surface.
- Avoid direct sunlight and heat: Place the table away from heating vents and direct sunshine to reduce drying, cracking, and fading.

Simple habits to keep your leather table top looking its best
Photo: Clean Planet
FAQs
1. How Often Should I Condition My Leather Furniture?
Typically, every 6-12 months, depending on usage and environmental conditions.
2. How to Restore Leather Tabletop?
To make your leather tabletop look good as new, you can follow five easy steps.
- First, clean it with a soft cloth and some mild leather cleaner to get rid of dirt.
- Second, fix scratches by sanding them lightly with fine sandpaper and filling deep ones with leather filler, then gently sand again to make it smooth.
- Third, add color with leather dye that matches your table
- Fourth, rub in some leather conditioner with a soft cloth to keep it soft and stop cracks.
- Finally, put on a thin layer of wax or sealant, let it get a bit sticky, and buff it with a cloth for a shiny, protective finish. This keeps your table looking great and strong for years!
3. Can Damaged Leather Be Restored?
Yes, most damaged leather can be fixed up well. Scratches, cracks, faded color, or scuffs can be helped with the right stuff. For scratches or cracks, please use filler or repair glue to patch them up, then you can sand them smooth.
If the color’s faded, you might need to add leather dye in thin layers to make it look even. Rub in conditioner to keep the leather from drying out, and finish with wax or sealant to protect it from more damage.
4. What is the Best Way to Restore Leather Furniture?
The best way to restore leather furniture is to clean it gently with a soft cloth and mild soap, then dry it with another clean cloth.
After cleaning, you can apply a leather conditioner to keep it soft and prevent cracks. For small scratches, you should use a leather repair kit or a bit of shoe polish that matches the color. And we highly recommend that you avoid harsh chemicals or too much water, as they can damage the leather further.
How to Restore Leather Table Top: Guide Ends Here
Thus, as we explained, “how to restore leather table top” with the five basic steps: cleaning, repairing, color restoration, conditioning, and protecting. Now, you can enhance the aesthetic appeal and increase the lifespan of your most beloved furniture piece. Besides, for those who want their leather furniture in shape, you can subscribe to the Lumber Grand blog or reach out via contact@lumbergrand.com to learn about the newest tips.

