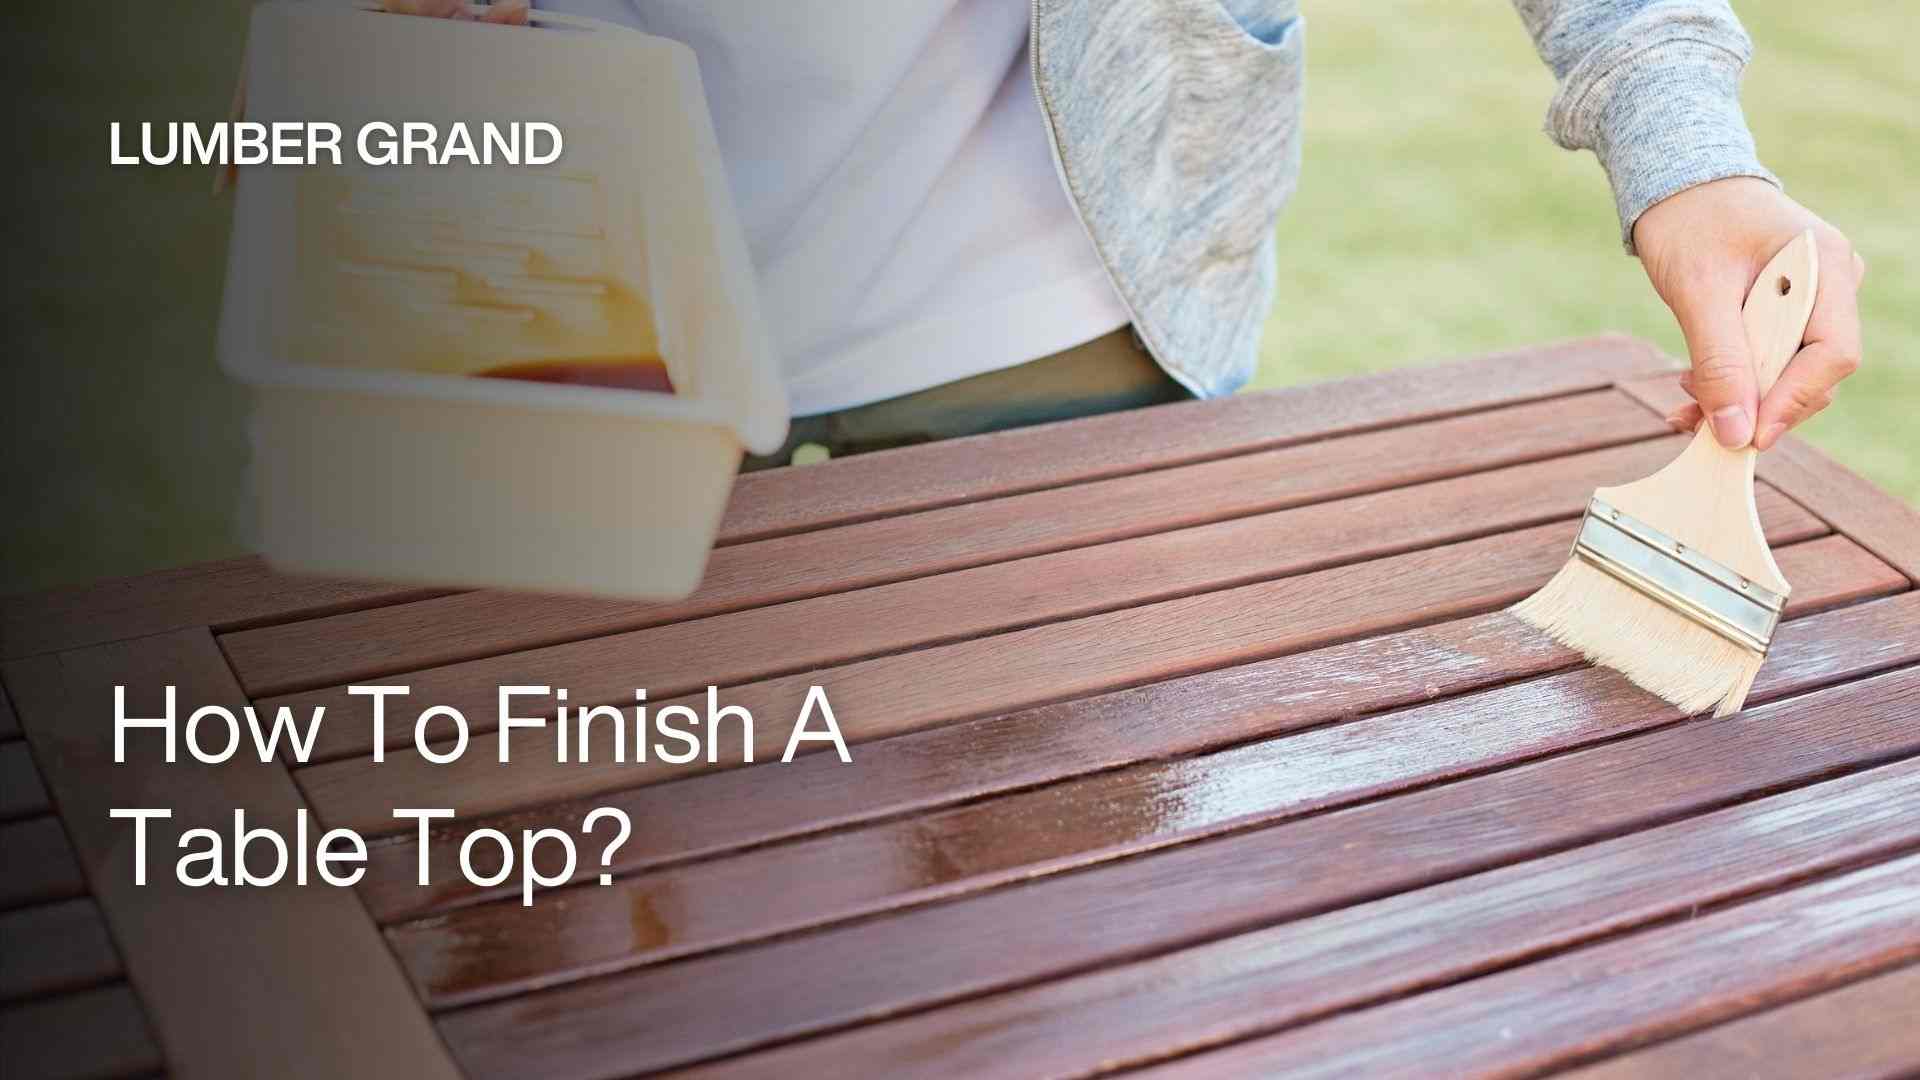
Your individual style can be expressed through the wood surface finish. In this guide, Lumber Grand will help you learn how to finish a table top using just 4 simple steps, perfect for beginners looking to bring their furniture back to life.
Essential Tools and Materials
Before you start to finish a table top, gather the right supplies. Here’s what you’ll need:
-
Sandpaper (grits 80, 120, 220, 320)
-
Orbital sander or sanding block
-
Wood filler or grain filler
-
Tack cloth or microfiber cloth
-
Wood stain or wood dye (optional)
-
Topcoat finish: polyurethane (oil-based/water-based), tung oil, shellac, lacquer, or epoxy
-
Foam brushes: high-quality synthetic bristle brushes, or lint-free cloth
-
Protective gear: gloves, mask, safety glasses
 Some of the material you should prepare for the finish table top
Photo: ©Aflo Images; Pexels; Getty Images on Canva.com
How to Finish a Table Top? Step-By-Step Guides
Refinishing a table top may seem intimidating at first, but with the right process. Below is a simple 4-step method you can follow on how to finish a table top.
1. Step 1: Surface Preparation
Before you even touch sandpaper, start by thoroughly preparing your table top.
-
Clean the surface with a damp cloth to remove any dirt, grease, or residue.
-
If the table has an old finish, use a chemical stripper or coarse sandpaper (around 80 grit) to remove it completely.
-
Inspect the wood for any dents, deep scratches, or holes. Use wood filler or grain filler to patch imperfections. Apply it with a putty knife and let it dry fully.
-
Once the filler is dry, wipe the entire surface with a tack cloth to remove any remaining dust or debris.
 Preparing your table top at first
Photo: ©Tapanakorn on Canva.com
2. Step 2: Sanding
Sanding is the most important step for even finish. Rushing this part can lead to uneven results.
-
Start sanding with medium-grit sandpaper (120 grit) to smooth out the surface and remove minor imperfections.
-
Progress to fine-grit sandpaper (220 or 320 grit) for a silky texture.
-
Always sand in the direction of the wood grain to avoid scratches that will show through the finish. Here is an important step if you want to know how to finish a table top.
-
If you're refinishing a live-edge table top, take your time with the natural edges, use a sanding sponge or hand-sand to maintain the shape.
-
After sanding, wipe the table down with a tack cloth to get rid of fine dust particles.
 Sanding a table top for an even finish
Photo: ©Getty Images on Canva.com
3. Step 3: Applying the Finish
Now that your table top is smooth and prepped, it’s time to bring it to life with the finish. Choose a finish based on the table’s use:
-
Start by applying a wood stain. Let it dry completely before moving on to the topcoat.
-
Using a foam brush, lint-free cloth, or a high-quality synthetic brush, apply your chosen finish in thin, even layers. Don’t overload your brush; thin coats are easier to control and will dry more evenly.
-
Allow each coat to dry fully as directed on the product label, ranging from 6 to 24 hours, depending on the finish. Once dry, lightly sand the surface with 320-grit sandpaper to remove any imperfections or raised grain. Be sure to wipe away the dust before applying the next coat.
In most cases, two to three coats are enough to create a smooth, durable surface that protects the wood while enhancing its natural beauty.
 Applying wood stain on your table top
Photo: ©Getty Images on Canva.com
Read more: How to epoxy a table top
4. Step 4: Curing and Final Touches
Once your final coat is applied, you’re almost there on knowing how to finish a table top but don’t rush to use the table just yet.
-
Let the finish cure completely, which may take anywhere from a few days to a full week depending on the product.
-
Avoid placing anything on the surface during this time.
-
For extra polish, once cured, buff the surface with fine steel wool or apply a light coat of furniture wax for added sheen and smoothness.

Placing a table anywhere for a few days
Photo: Lumber Grand
Best Finishes for Different Table Top Uses
Choosing the right finish depends on how and where your table will be used. Below are some of the best finishes for some different types of table top:
-
Dining table: Oil-based polyurethane or epoxy resin is your best bet.
-
Coffee table: When wondering how to finish a coffee table top, go for Danish oil followed by wax. The wood will have natural grain and be perfect for living room tables with moderate use.
-
Farmhouse tables: Use matte polyurethane or tung oil. These finishes will add a level of protection against spills and daily wear.
-
Outdoor tables: Epoxy resin or penetrating oil will highlight the wood’s natural beauty while providing strong protection.
-
Kid-friendly tables: Use water-based polyurethane or food-safe mineral oil. These options are non-toxic and easy to clean.

Some of the best finishes for different table top
Photo: ©Getty Images on Canva.com
Common Mistakes & How to Avoid Them
Even with the best tools and products, small mistakes can ruin an otherwise beautiful table top finish. Here are some mistakes and tips to help you:
-
Skipping the final sanding: Some people stop sanding after the first few coats, but that final light sanding between coats is key. It helps smooth out, removes dust nibs, and makes the next coat stick better.
-
Using the wrong brush or applicator: Cheap or old brushes can leave streaks in coverage. Foam brushes or high-quality synthetic bristle brushes are suitable for smooth, controlled application.
-
Not allowing enough drying or curing time: Rushing through the drying process can cause sticky finishes. You should follow the recommended drying times listed on your product label.
-
Applying the finish too thickly: Thick coats take longer to dry and are more prone to bubbles. Instead, apply thin, even coats and build up gradually.
-
Finishing in dusty or humid conditions: Dust can settle into wet finishes and ruin the surface, while high humidity can interfere with drying. Try to work in a clean space. If you're working in a garage or shed, wipe down surfaces and close the door while the finish dries.
 Checking the quality of the applicator before finishing a table top
Photo: ©MariaTDeb on Canva.com
Maintenance Tips After Finishing
One tip to know how to finish a table top is to understand how to take care after finishing. Here’s how to protect your finish over time:
-
Cleaning without damaging the finish: Avoid harsh cleaners that can dull or strip the finish. Instead, use a soft, damp cloth with mild soap or a wood-safe cleaner.
-
When and how to reapply the finish: Reapply a fresh coat when the surface looks dull, feels rough, or starts to absorb moisture. For wax or oil finishes, this could be every 6 to 12 months. For polyurethane, it’s usually every few years.
-
Avoiding direct sunlight and water damage: Use placemats or coasters, and keep your table away from direct UV exposure when possible. For outdoor or live edge tables, always use waterproof finishes and consider covering table top when not in use.
If you’re ever unsure about which products to use or how to care for your table top long term, don’t hesitate to reach out. You can always contact us at +1 (213) 834-1213 or visit our website Lumber Grand for more helpful guides.
Knowing how to finish a table top doesn’t have to be overwhelming. With the right tools and a little patience, you can turn any unfinished surface into a stunning centerpiece. Just remember: preparation is key, thin coats are better than thick ones, and the right finish depends on how the table will be used.


