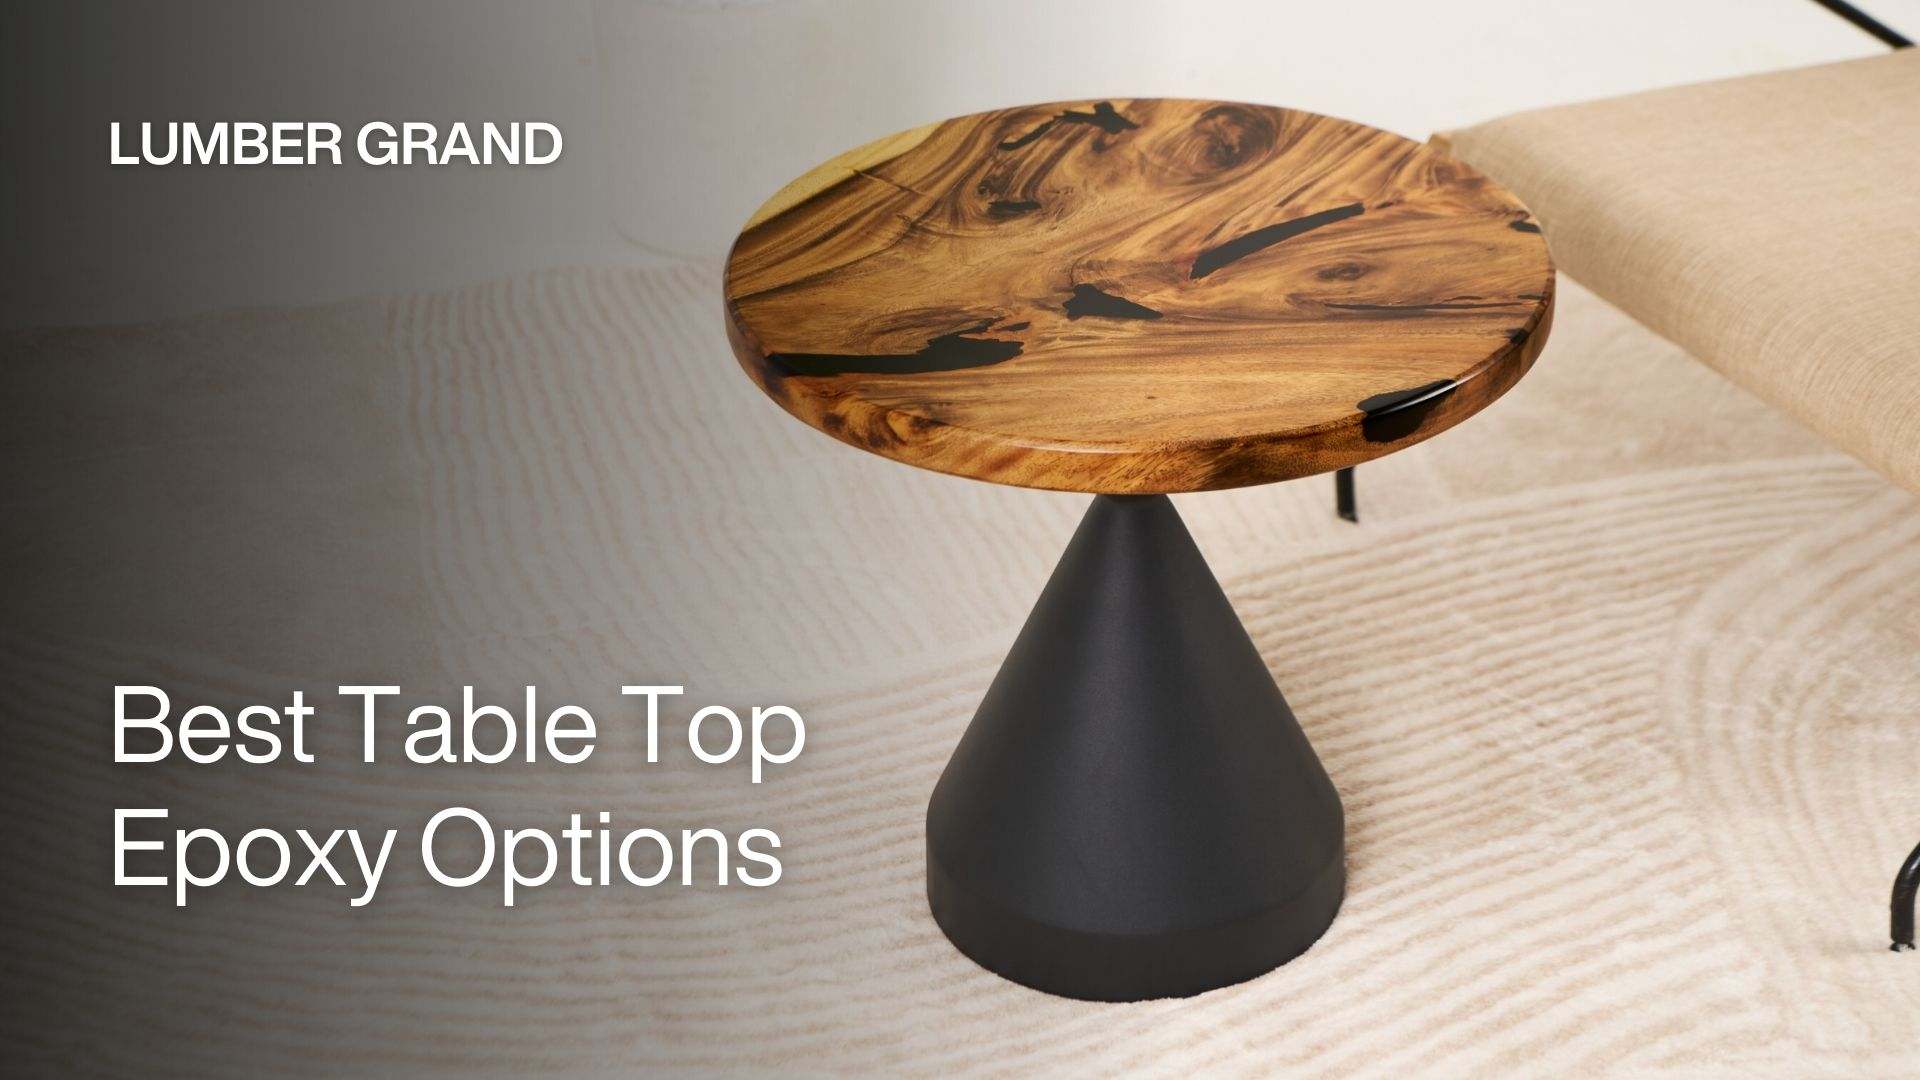
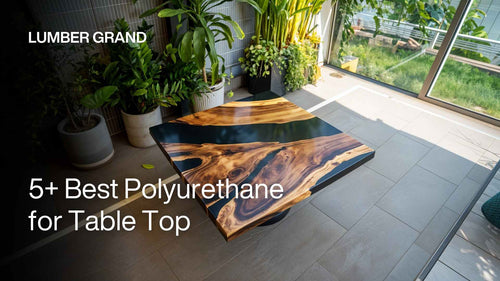
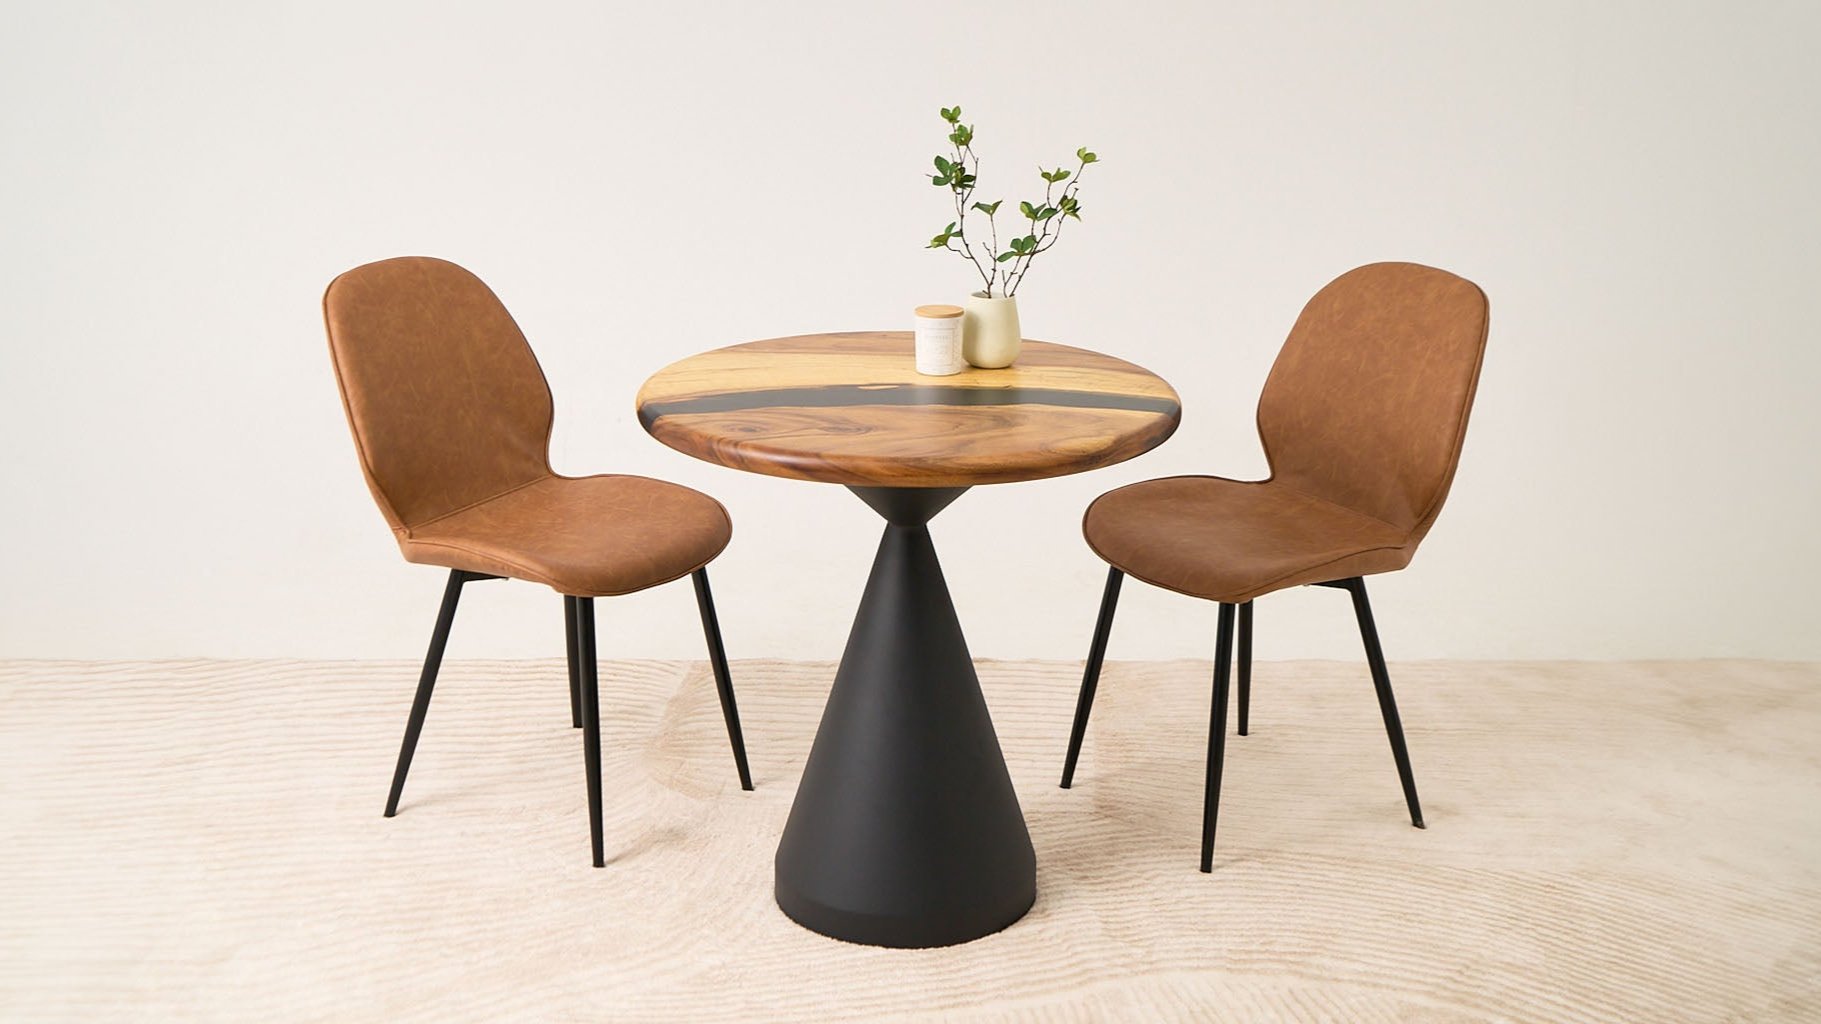
Are you confused while choosing the best table top epoxy for your table because of the variety of types out there? Scroll down to read this guide, and you will find an ideal option to make an epoxy table that ensures a professional, clear, and durable finish for wooden or river tables.
We will recommend to you the top-rated options, key selection criteria, and some DIY epoxy tips. Now, it's time to discover the best epoxy for both outdoor and indoor epoxy tables.
Criteria for Choosing the Best Epoxy Table Top
Many criteria will affect your epoxy project, such as features, curing time, or price. To choose the best table top epoxy, you should carefully consider the following essential criteria:
-
Epoxy features: You should look at some features, such as UV protection and prevention from yellowing for its long-term use.
-
Fast curing: It is fast but allows adequate working time for adjustments, ensuring a seamless finish.
-
Durability: The best table top epoxy resin for daily use has to be considered scratch-resistant, heat-resistant, and long-lasting.
-
Easy application: Smooth mixing, self-leveling, and minimal air bubbles for a hassle-free experience.
-
Price: Carefully calculate your table sizes or space that you will epoxy and check your budget.
-
Product reliability: The reputation of the epoxy brand is also an essential element that you should carefully research to avoid scams and poor-quality products. Only pick the common brand that other woodworkers use.
Top 7 Best Epoxy for Table Tops
The essential part of this guide is finding the best table top epoxy. To help you completely understand the top-rated products in the woodworking market, we recommend some epoxy types and their quality features.
1. ArtResin Epoxy Resin
This is the highest recommended epoxy for DIY and professional constructions due to its non-toxic and crystal-clear properties. Also, ArtResin's UV resistance is high, and you can apply it effortlessly on the surface.
If you are looking to build a glow epoxy resin table, this is ideal with embedded lights or pigments. It will be perfect for the beginner, thanks to its no-odor and low bubbling.

Pick ArtResin for the clear epoxy table
Photo: ©Elena Titova on Canva.com
2. Pro Marine Epoxy
Offering you good heat resistance, Pro Marine is the best epoxy for kitchen, epoxy end table and bar spaces. Many woodworkers have selected this for their projects to ensure a strong, glossy, and scratch-resistant finish. With a long-lasting and high-gloss coat, this is the best epoxy resin for table tops and those who want to know how to make epoxy table.

Pro Marine Epoxy will bring a perfect glossy look to your table
Photo: ©BAKHROM on Canva.com
3. TotalBoat Epoxy Resin
The best table epoxy for bar tops with a self-leveling formula and superior air release properties will make your table top flush and free from bubbles. Another strength is fast curing time, which is ideal for those who want to save time to make more projects. Both DIYers and professionals love this for the creative designs and unique epoxy table top ideas.

TotalBoat Epoxy is ideal for a beautiful glossy finish
Photo: ©Stipe Perkovic on Canva.com
4. Stone Coat Epoxy
The best epoxy resin for wood river table designs must mention Stone Coat. With its deep pours and high-impact durability, it will help you resist yellowing as much as possible for long-lasting use. This epoxy is great for artistic applications, allowing for beautiful marbled or metallic effects.

Stone Coat is the best epoxy for wood table builds
Photo: Lumber Grand
Shop now: Epoxy Table Top Collection
5. Epox-It 80 Epoxy
Epox-It 80 epoxy, which is fast-curing and heat-resistant, will be one of the best epoxy for table tops. It is easy to apply and is a reliable brand for a sturdy, clear finish. From indoor to outdoor tables, it works well with good sealing.

If you have to make a quick and stunning project, Epox-It 80 is the best for you
Photo: ©SaevichMikalai on Canva.com
6. Superclear Epoxy Resin
Superclear epoxy can be perfect for those who seek the best clear table top epoxy solutions. It is trusted by many professionals thanks to strong adhesion, preventing peeling or cracking over time. Superclear epoxy resin will be ideal for artistic tables such as river epoxy tables or embedded objects.

Let's choose Superclear epoxy resin for your artistic epoxy coffee table
Photo: Lumber Grand
Shop now: Epoxy Tables Collection
7. RTG Bar & Table Top Epoxy
Budget-friendly and easy to apply, offering high protection against stains and moisture. This epoxy is great for DIYers looking to enhance their table tops with a protective and glossy finish. Its thick consistency makes it ideal for bar tops and wooden tables needing extra durability.

RTG Bar & Table top epoxy will be the best option for all beginners
Photo: ©Alfonso Soler on Canva.com
How to Apply Epoxy for a Smooth and Durable Table Top Finish
Are you ready to create your own table after choosing the best table top epoxy? We will guide you through 4 simple steps now.
1. Step 1: Surface Preparation
Before starting this project, you should check the table surface to ensure it is dust-free, dry, and sanded for optimal adhesion. Let's use a tack cloth to remove dust and debris if your table isn't clean enough before applying epoxy. If you are working on how to make an epoxy table, sealing the wood beforehand helps prevent air bubbles from rising during curing.

Cleaning is the most important step for a perfect epoxy table
Photo: ©Abdullah Kilinc on Canva.com
2. Step 2: Mixing Epoxy
Mix the epoxy carefully and slowly, following the 2:1 or manufacturer's ratio to prevent cloudiness and bubbles (you should use the clean mixing cup with the ratio scale). Then, stir for 2-3 minutes until the epoxy resin and hardener blend completely. For a more impressive and colorful project, add glow pigments at this stage.

Focus on stirring gently to avoid the formation of air bubbles
Photo: ©Thirdman on Canva.com
3. Step 3: Pouring and Leveling Epoxy
Now it's time to pour your epoxy! Pour in a controlled manner, then spread them evenly with a spatula. You will see many bubbles on the surface; don't worry, the heat gun will help you to remove all of them. If you want to add your creative and unique style, consider adding decorative elements like metallic pigments or embedded objects during this step.

Slowly pour the epoxy for a perfect surface
Photo: ©Thirdman on Canva.com
4. Step 4: Curing and Finishing
For the final step, allow proper curing time (more than 24 hours), avoiding dust and debris. Next, you have to sand and polish for a professional touch. For epoxy outdoor table applications, apply a UV-resistant topcoat to prevent yellowing and maintain durability in outdoor conditions.

Let your epoxy table cure for 72 hours to use as regular
Photo: ©Elena Titova; Thaicha on Canva.com
Related Questions
1. Is There a Difference Between Table Top Resin and Epoxy?
There are a few differences between them. The best table epoxy for high thickness and durability, while resin may be softer and less heat-resistant.
2. What Is the Downside to Epoxy Countertops?
The epoxy countertops are usually stained when the food or drink remains on the surface for a long time. You should constantly clean your table to make it always new and durable.
3. How Thick Should Epoxy Be for Table Top?
A sturdy, high-quality table top epoxy can be poured in separate layers of up to 1/8 of an inch. The aggregate total can be significantly thicker because it can be poured in numerous layers.
If you are still wondering about any epoxy table problem, you can contact us directly via email at contact@lumbergrand.com. At Lumber Grand we always support you with many tips and DIY guidance.
Selecting the best table top epoxy resin ensures a stunning, long-lasting finish. Whether creating a wood river table, a glow epoxy table, or a sturdy epoxy outdoor table, choosing the right epoxy and applying it correctly guarantees the best results. Try experimenting with pigments, embedded objects, and creative designs to add your own unique touch.

