How to brace a table top properly? Whether your dining table is sagging, a DIY project is warping, or a vintage find is wobbling, a weak table top can ruin both functionality and aesthetics.
Don’t worry - fixing it is easier than you think! In just a few simple steps, you can reinforce your table and restore its stability for years to come. Let’s dive into the best bracing techniques to make your table sturdy again.
How to Brace a Table Top: 5 Proven DIY Methods That Actually Work
No matter if that is a question for: table wobbles side to side or even pedestal table top wobbles, you’ll get a direct answer in the 5 methods below.
And before learning how to brace table legs effectively, getting tools and materials organized and within reach will help your project run smoothly. So, what are they?
1. Prepare Tools and Materials Needed for Bracing a Table Top
1.1 Essential Hardware and Fasteners
|
Item |
Specifications |
Purpose |
Cost Range |
Pro Tips |
|
L-brackets |
Heavy-duty steel, 3 — 4 inches, multiple holes |
Corner bracing for stability |
$2 — $5 per unit |
Available at Home Depot. It provides excellent stability for wobbly tables |
|
Wood screws |
2-inch and 1¼-inch deep-thread |
Secure fastening |
Varies |
Use 1¼" for brackets, 2" for thicker parts. Phillips/Robertson heads easier than flathead |
|
Wood glue |
Polyurethane-based (Titebond III Ultimate) |
Strong, water-resistant joints |
~$8 — $12 per 16oz |
Creates joints stronger than wood itself. One bottle covers multiple projects |
|
Clamps |
Bar clamps and C-clamps |
Hold pieces during assembly |
$15 — 40 total |
Harbor Freight models work well. Bar clamps for stretchers, C-clamps for brackets |
1.2 Choosing the Right Wood for Bracing
|
Material Type |
Characteristics |
Cost |
Best For |
Considerations |
|
Hardwood Battens |
Oak, maple, birch for maximum strength |
$3 — $8 per linear foot |
Heavy-duty tables, long-term use |
Most expensive but longest-lasting option |
|
Pine Construction Grade |
Lightweight, budget-friendly |
Half the cost of hardwood |
Light tables, temporary solutions |
May compress under heavy use over time |
|
Laminated Wood |
Engineered uniformity, no defects |
Higher cost than solid wood |
Professional applications |
Eliminates weak spots that cause future failure |
1.3 Optional Upgrades for Maximum Strength
|
Upgrade |
Description |
Cost |
Benefits |
|
Metal Crossbracing |
Steel or aluminum bars, 1-inch square |
$15 — $30 each |
Commercial-grade rigidity and durability |
|
Epoxy Reinforcements |
Marine-grade systems (West System) |
$25 — $50 per kit |
Permanent bonds that strengthen over time. It penetrates wood fibers. |
1.4 Safety Equipment (Don't Do Without It!)
|
Safety Item |
Specification |
Purpose |
Cost |
Why It Matters |
|
Safety Glasses |
Impact-resistant |
Protect from wood/metal splinters |
$5 — $15 |
Small investment prevents costly emergency room visits |
|
Dust Mask |
N95-rated |
Filter particles during sanding/cutting |
$10 — $20 per box |
Essential for respiratory protection |
|
Work Gloves |
Leather preferred |
Hand protection and better grip |
$8 — $25 |
More dexterity than cloth gloves while providing protection |
2. Method 1: Install L-brackets in each corner
Firstly, in order to solve the global issue of shaky tables owing to loose corner joints, the L-bracket fitment is an instant and sure remedy.
-
Step 1 — Position the L-Brackets: Position 3-4 inch steel L-brackets for durability. Install a bracket on each corner of the table bottom, where the tabletop or apron intersects with the table leg, so that it's flush with both surfaces for maximum stability.
-
Step 2 — Mark and Prepare Screw Holes: With a pencil, draw the screw hole locations and drill pilot holes to prevent splitting wood and to make easy and solid joints.
-
Step 3 — Install the Brackets: Drive wood screws (1¼ — 1½ inches, depending on the thickness of your wood) and screw tight but don't overtighten, for this can strip threads or crack wood.
-
Step 4 — Final Adjustments: Make the table top level with the frame before screwing all screws tight.
This is one of the simplest ways to brace a wobbly table, and also the first step on how to brace a table top correctly.

First step on how to brace a table top is getting those corners locked down tight
Photo: Freepik
3. Method 2: Reinforce the Underside with Metal C-channel Supports
Now that your table's structural joints are established and wobble eliminated, it's time to cease applying pressure on the table top itself to warp or bow in the future.
The second way to brace a wobbly table that we highly recommend is to use metal C-channel supports. They’re pieces of steel that resist cupping and support the table top plane.
Here is how to brace a wobbly table easily with C-channels:
-
Step 1 — Prepare and Size the C-channels: Start by buying narrower C-channels than the width of the table to permit seasonal wood movement.
-
Step 2 — Create Recesses (If Needed): In case of a flush installation, rout shallow grooves in the table underside to recess the C-channels.
-
Step 3 — Position and Space the Battens: Space 2 — 3 C-channels 12 — 18 inches apart along the bottom, at right angles to the wood grain to provide maximum support without overly constraining the wood.
-
Step 4 — Secure the Battens: We secure the C-channels with threaded inserts and bolts driven through holes that are larger than the screws, so the table top can expand and contract with changing humidity. Don’t forget to apply wood glue for added strength.
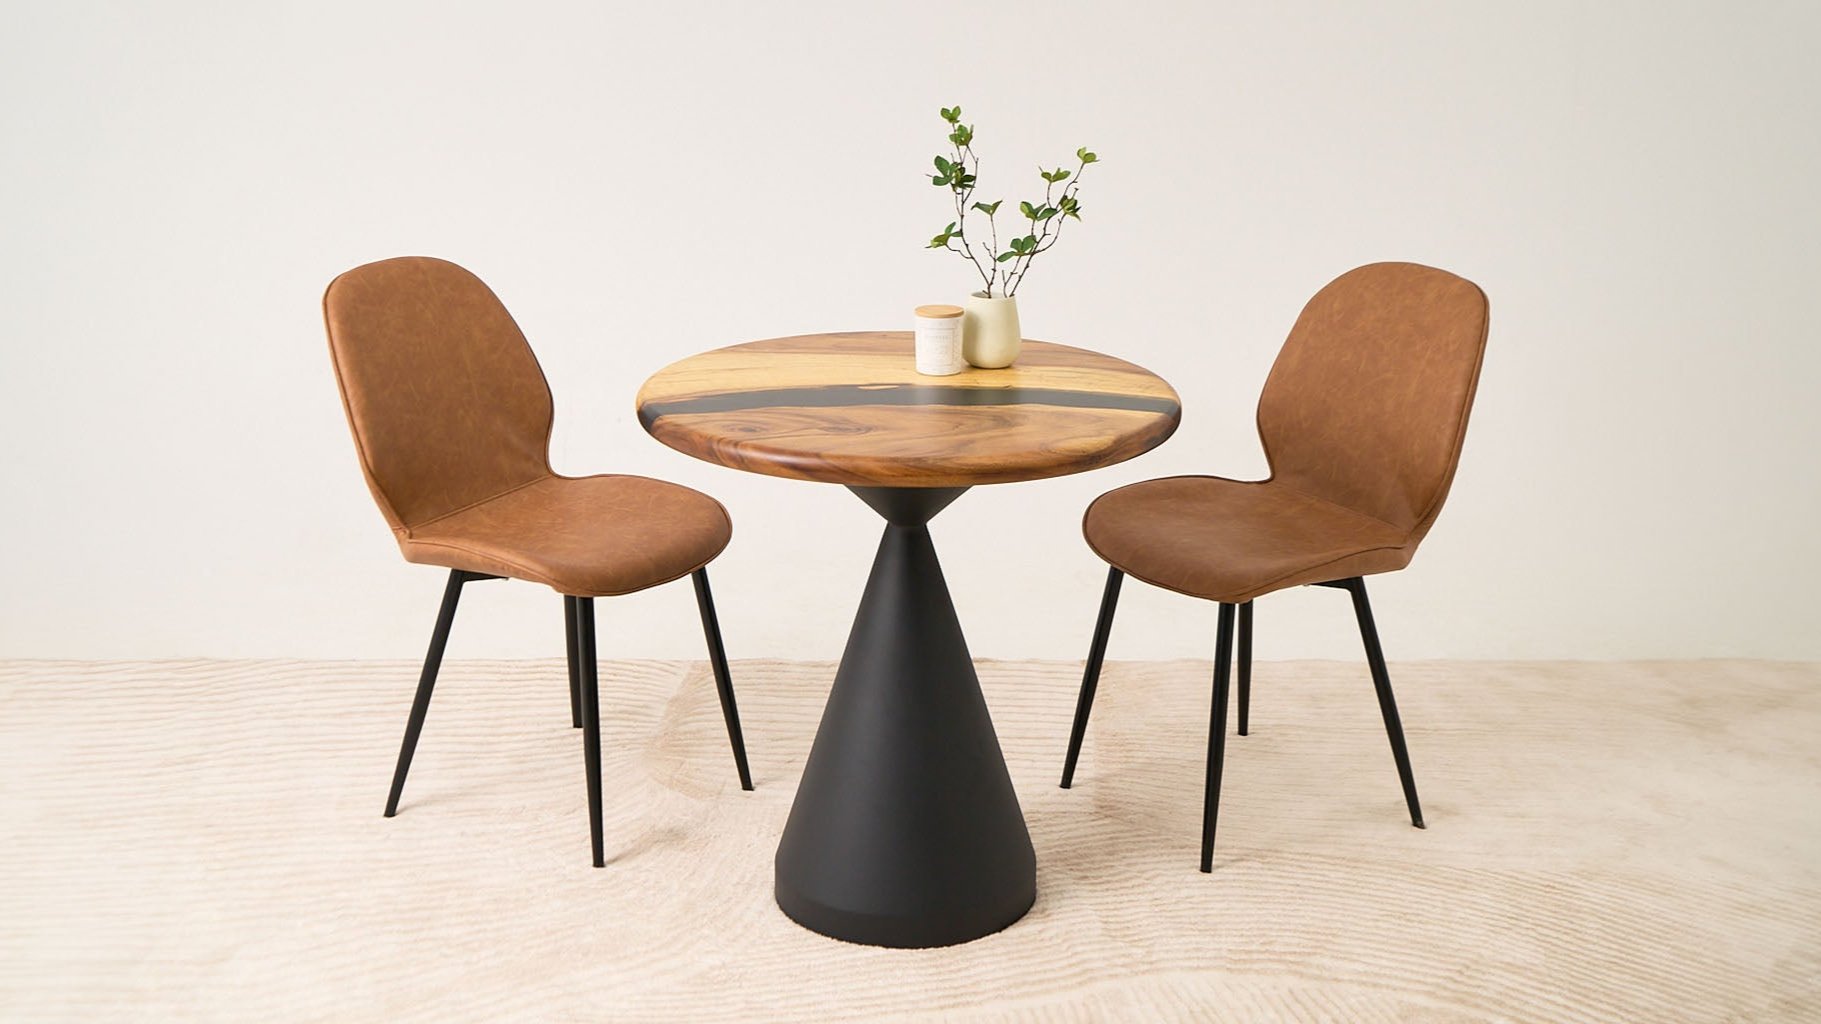
From 5+ years of experience working with epoxy tables, the aesthetic appeal of this technique really makes it worthwhile. Each table top in Lumber Grand has a combination of strength and visual impact that is hard to beat when done properly.
Once you see how well c-channels handle daily use and cease applying pressure on the tabletop to warp or bow in the future. It's easy to understand why this approach has become so popular for both functional and decorative purposes.

How well c-channels handle daily use and cease applying pressure on the tabletop
Credit: Lumber Grand
Shop Now: Round Epoxy Coffee Table 35" Diameter
4. Method 3: Add Diagonal Cross-bracing Between Legs
Even the most substantial of table corners can allow lateral movement, causing infuriating shake and wobble. Adding diagonal cross bracing table legs eliminates this problem by offering stiff triangular support that increases strength to the table base. Here is how to cross brace a table top:
-
Step 1 — Measure and Plan: Measure the diagonal from opposite legs (say, front left to rear right) with care. You should be accurate at this point because it will ensure a professional finish.
-
Step 2 — Cut the Bracing Material: Cut two kiln-dried hardwood pieces to 45-degree angles on each end for tight, clean joints. Next, you sand the cut ends smooth prior to installing for tight joints and a polished appearance. Don’t forget to wear safety glasses to protect yourself from wood splinters.
-
Step 3 — Install the Cross-Braces: Apply construction adhesive to fill any small gaps and create a permanent grip, and then screw on the braces with wood screws for a grip that will never loosen regardless of usage, even severe usage.
-
Step 4 — Test Stability: Finally, we test out the table by rocking it back and forth to ensure less wobble. This method distributes weight evenly, so your table will be rock-solid.
5. Method 4: Fit a stretcher between table legs
Stretchers are traditional joinery expertise that has kept tables together for centuries, and one avoids front-to-back movement, a whole different ball game in general table stability.
In addition to stabilizing the table, this method also serves well for table legs without aprons. It provides foundational strength without visible framing.
-
Step 1 — Measure and Plan: Start by measuring the diagonal from opposite legs
-
Step 2 — Cut and Prepare Stretcher Material: Cut two kiln-dried hardwood pieces to 45-degree angles on each end for tight, clean joints. We sand the cut ends smooth as silk prior to installing for tight joints and a polished appearance.
-
Step 3 — Create Joints: On close connection points, you use mortise and tenon joints for maximum connection or simple lap joints if your woodworking skill is still evolving.
-
Step 4 — Assembly and Clamping: Next, we spread wood glue onto each joint surface prior to assembly, then clamp the stretcher home with bar clamps. You’ll need to let the joints dry 24 hours so connections that will last decades are formed.
-
Step 5 — Finishing: Sand and finish once they're dry, matching the table. This technique not only eliminates leg wobble but also gives your table a smooth, ageless appearance that's resistant to day-to-day abuse of normal use.
To sum up, it’s another excellent way on how to brace a table top for long-term durability.
You might like: How to Refinish Dining Table Top

Stretchers distribute the weight evenly and eliminate front-to-back wobble
Photo: Mez
6. Method 5: Add a rigid top layer with metal or epoxy
You’ve put in the effort on basic bracing, so let’s take it to the next level with advanced reinforcement that creates an incredibly strong, warp-resistant surface.
- Step 1 — Metal Reinforcement Option: For the metal reinforcement option, route shallow channels in the table’s underside and embed thin, rust-resistant steel strips using construction adhesive. This prevents bending while remaining completely invisible from above.
- Step 2 — Epoxy Reinforcement Process: For the epoxy reinforcement process, you should cover the entire surface of the table with a thin application of clear epoxy resin to produce a waterproof, scratch-resistant finish that will keep the table from warping because of moisture permanently.
- Step 3 — Allow Proper Curing Time: Both are slow jobs. This is because epoxy takes 7 days or more to cure fully, while metal reinforcement adhesive takes 24 hours, but the finished product is worth the wait.
- Step 4 — Final Finishing: After the cure, sand and polish the epoxy for a glossy finish, or ensure bonding of the metal. This method provides a long-lasting, contemporary table top that holds up to heavy usage.
This is an excellent solution if you're dealing with a plywood table top that's thinner or more prone to bowing, and wondering how to brace plywood table top without affecting the aesthetic from the top side.
- You might like: Best Finish for Outdoor Wood Furniture
- If your table top has trouble with moisture, read more: How to Fix Water Damaged Wood Table Top
Why Do Table Tops Need Bracing?
You have gone through the effort of how to improve table top stability, so let's get to the bottom of why tables get into trouble in the first place. Here are the primary causes of wobbly tables:
1. Common Structural Issues in Old or DIY Tables
Most of the problems that lead you to the question “how to brace a table top” are caused by poor joinery. Inadequate mortise and tenon joints, separated glue bonds, or absence of proper fasteners bring about movement that escalates over time. Also, wood shrinkage when drying creates gaps that were not present originally.
2. Signs Your Table Top Needs Reinforcement
Watch for these warning signs: gaps that can be seen between boards, rocking when you press opposite corners, creaking sounds when used normally, or objects creeping gradually to table edges. These signs are symptoms of structural weakness that can be cured by bracing.
3. When to Fix vs When to Replace the Table Top
Fix is worth it if the underlying frame is good and the wood shows no signs of rot or extensive damage. You should replace the table if you find multiple busted joints, extensive splitting, or extensive damage that exceeds the worth of the table.
Above all, don't ignore warning signs early on. Minor problems equal huge checks if left unattended, but taking action early keeps your table in business for decades.
Expert Tips to Prevent Table Top Issues
You have done learning how to brace a table top guide, so let's ensure it remains firm for years to come! Below are our best tips for ensuring table stability:
1. Acclimate Wood Before Building
Place lumber in your shop for 1 — 2 weeks before starting any building project. Moisture content will stabilize, minimizing future movement and joint stress that will reverse your careful bracing work.
2. Alternate Growth Rings When Gluing Boards to Minimize Cupping
Stack neighbor boards with arcing growth rings in opposite directions. This reduces cupping because boards respond to moisture changes in opposite ways, which lessens stress on your bracing members.
3. Use Kiln-dried Lumber to Reduce Moisture Content
Kiln-dried wood will be drier and ship shorter than air-dried. The extra cost is well worth it in terms of long-term stability and will reduce the chances that you'll need to re-brace later.
4. Apply a Protective Finish (Epoxy Resin/Polyurethane) to Both Sides of Table Top
Seal the top and bottom surfaces with epoxy resin or polyurethane. Slop moisture penetration causes warping that bows even marvelous bracing, so matched protection prevents this problem.
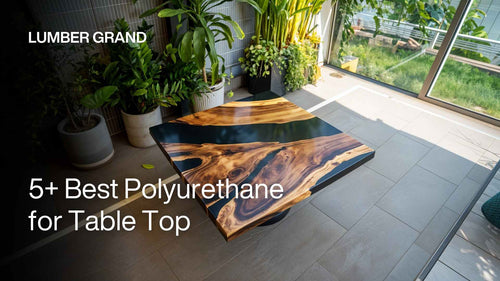
Read more: Best Polyurethane for Table Top
5. Regularly Check and Tighten Joints to Maintain Stability
Check your table every 6 months and secure loose fasteners immediately. Small adjustments prevent major problems later and maintain your bracing system running smoothly. And yes, one of the easiest long-term solutions is to brace every leg on your wobbly table evenly to prevent isolated instability.
FAQs
1. Should You Brace It or Replace It?
Brace your existing table if the basic frame remains good and suffers no rot or extensive damage. Replacement becomes more viable when repair costs almost equal the price of a new table, or you simply want to upgrade to stronger materials like our handcrafted epoxy tables.
2. Are Epoxy Tables Better than Traditional Wood Tables?
Epoxy tables are stronger and less prone to warpage compared to traditional wood construction. The epoxy resin creates a watertight seal that prevents moisture-related movement with natural wood appeal. Maintenance requirements drop dramatically because epoxy will not crack, split, or require refinishing like traditional surfaces.
3. How to Stabilize a Wobbly Table Top?
Start with L-brackets in all four corners for immediate gain. Add cross bracing table legs DIY or stretcher, for maximum stability. Add cross-bracing or stretchers for maximum stability. Check all existing fasteners and tighten loose fittings before adding new bracing members — often the answer is simpler than you think.
4. How to Stop Table Top from Moving?
Secure the table top onto the base using figure-8 fasteners that allow seasonal movement without lifting or sliding. Add a wobbly table stabilizer if necessary to reduce shake further. Avoid rigid connections that fight against natural wood expansion, which will make your table top crack over time.
5. How to Stop Table Top from Bowing?
Insert battens under the right angles in the wood grain direction. For severe bowing, add metal strip reinforcement or epoxy coat. Maintain stable humidity levels at your home to minimize future movement.
How to Brace a Table Top: Guide Ends Here
And so, you're introducing structural stability to an article of furniture and buying something extremely reliable in your house. Having this beautifully braced table, you now have a considerable way of extending furniture life and even surprising your family members when it's your turn to give that proud declaration, "I did it myself!"
In addition, if you are looking for a handcrafted epoxy table, which can be used as a centerpiece for your new house or office, then you are at the right place! Our tables have traditional wood attractiveness and contemporary durability that will never need bracing.
Learning how to brace a table top ensures stability and extends lifespan significantly. Whether you choose simple L-brackets or advanced epoxy methods, these proven techniques deliver lasting results. Thank you for reading!


