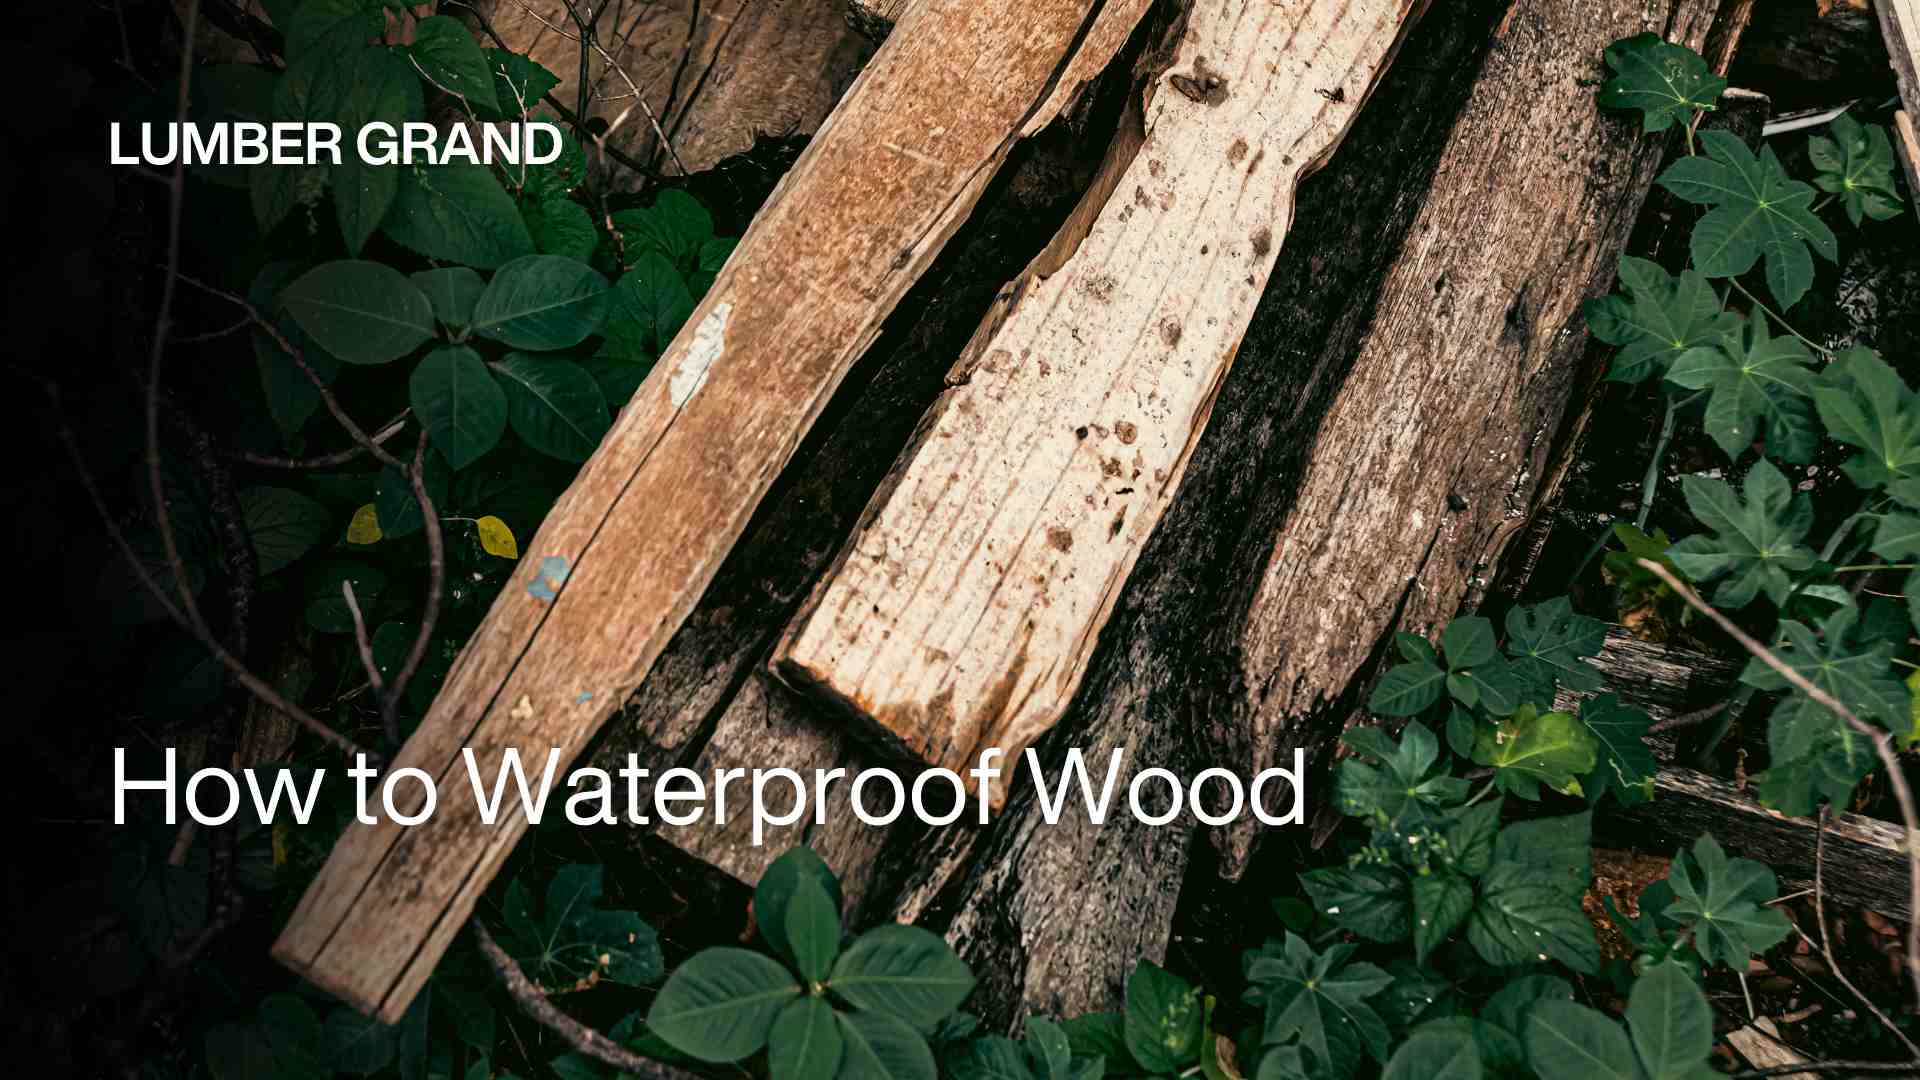
Water damage is the no 1 enemy of wooden surfaces. Hence, learning how to waterproof wood is one of the most important things you can do to seal your furniture, decks, and fences. The simple way to waterproof wood is to clean it, choose the best protection method (we’ll reveal it below), apply it to wood, and let it cure.
In this guide, Lumber Grand shows you 3 proven effective methods of how to make wood waterproof, when to use each one, and how to get the best results without hiring a contractor. Read more!
Why You Need to Waterproof Wood
In fact, water damage is the #1 enemy of wooden surfaces, and it ruins wood faster than almost anything else. Without the right protection, your beautiful wooden table top, deck, fence, or furniture can turn into an expensive repair nightmare.

Water ruins wood faster than almost anything else
Photo: Freepik
Learn more: How to Fix Water Damaged Wood Table Top
Below are 3 popular reasons why you should learn how to make wood waterproof:
Stop expensive damage before it starts:
-
Wood cracks, warps, and splits when it soaks up too much moisture
-
Wet wood rots from the inside out, weakening the entire structure
-
Swollen wood breaks apart at the joints and creates uneven, dangerous surfaces
Keep your wood looking good:
-
Water leaves ugly, dark stains that never fully disappear
-
Sun and rain work together to fade wood's natural color
-
Untreated wood turns a nasty gray that makes everything look old and neglected
Protect your health and safety:
-
Damp wood grows mold and mildew that can make your family sick
-
Bugs love wet, rotting wood and will move right in
-
Damaged surfaces become rough and splintery, creating injury risks
You might like: How to Protect Wood Table Top
How to Waterproof Wood: 3 Effective Methods Every Time
Let’s take a tour with our guide of these 3 most efficient methods to seal wood from water: Natural wood oils, waterproof wood sealer, and waterproofing outdoor wood paint.
1. How to Waterproof Wood Naturally with Natural Wood Oils
Natural oils soak deep into wood like a good moisturizer. It's well-known oil for protecting from the inside out while keeping that beautiful natural wood feel. Natural oil is perfect if you want a gentle way to protect your wood naturally without using harsh chemicals that smell terrible or worry you around kids and pets.
The 3 best natural oils to use:
-
Tung Oil: The gold standard, which gives the longest-lasting protection of all natural oils
-
Linseed Oil: What your grandfather probably used — time tested and reliable for keeping water out
-
Danish Oil: A smart blend that protects and makes wood look gorgeous at the same time
Best use cases:
-
How to waterproof wood for bathroom installations
-
Kitchen countertops and dining surfaces
-
High-traffic flooring and trim work
-
How to waterproof wood table surfaces (heavy use)

Covering the floor with natural wood oils
Photo: Shutterstock
Below is how to make waterproof wood with natural wood oils:
Tools needed:
-
Tung oil, linseed oil, or Danish oil
-
400-grit sandpaper
-
Lint-free application cloths
-
Tack cloth for dust removal
-
Nitrile gloves
-
Mineral spirits (for cleanup)
Step 1: Get your Wood Ready
-
Give the wood a good cleaning to get rid of any dirt, grease, or old finish.
-
We check that the wood is dry enough. It should be below 12% moisture if you have a meter to test it.
-
Sand lightly with 400-grit sandpaper, always going with the grain to help the oil soak in better.
-
Wipe away every bit of dust with a tack cloth, as any leftover dust will mess up your finish.
Step 2: Oil Application
-
Stir your oil gently with a stick (never shake the can, or you'll get bubbles that ruin the finish)
-
Brush or wipe on a thin coat, always following the direction of the wood grain.
-
Work the oil into the surface using small circular motions to help it penetrate
-
After 15 minutes, you wipe off any oil that's still sitting on top
Step 3: Let the Oil Cure and Add More if Needed
-
Wait for each coat a full 24 hours to dry before adding another one
-
We highly recommend a maximum of 3 thin coats. Applying more than that just creates problems without better protection
-
Keep everything off the surface for 72 hours so the oil can fully harden
You might be interested in: How To Finish A Table Top
2. How to Waterproof Wood with Wood Sealer
When you need serious waterproofing that won't quit, synthetic sealers build a tough protective shell right on top of your wood. These products create one of the strongest barriers against water you can get.
Yet, the trade-off is that your wood won't feel quite as natural anymore, but you get protection that can last for years without touch-ups. For high-traffic areas or outdoor projects where failure isn't an option, synthetic sealers are worth their weight in gold.
The 3 best synthetic sealers for different jobs:
-
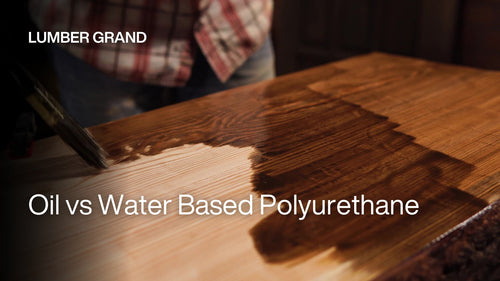
Polyurethane: Your best bet for dining tables, counters, and anything that gets daily use and abuse. Also, if you’re a fan of polyurethane, don’t skip our beginner's guide on how to polyurethane a table.
-
Marine Varnish: Built to handle boats in saltwater. It’s perfect for outdoor decks, fences, and patio furniture.
-
Lacquer: What the pros use on expensive furniture when they want a flawless, rock-hard finish.
Read more: Best Polyurethane for Kitchen Table
Best use cases:
-
Decorative wood furniture pieces
-
Interior surfaces with light traffic
-
Projects requiring natural wood appearance
-
How to waterproof wood table surfaces (light use)

Polyurethane is your best bet for dining tables
Photo: Freepik
Here is how to permanently waterproof wood with synthetic sealer:
Tools needed:
-
High-quality waterproof wood sealer (polyurethane, varnish, or lacquer)
-
Synthetic bristle brush or foam applicator
-
220 — 320 grit sandpaper
-
Tack cloth
-
Mineral spirits for cleanup
-
Well-ventilated workspace
Step 1: Prepare your Wood Properly
-
Strip off any old paint, stain, or finish. You should know that sealer won't stick to dirty or glossy surfaces.
-
Start with coarse paper and work your way up to fine grits for a smooth base.
-
Wipe down with mineral spirits to remove every trace of dust, grease, and sanding residue.
-
Work in a clean area where dust won't blow onto your wet sealer
Step 2: Apply the Sealer
-
Pour some sealer into a separate container and stir gently
-
Use a quality brush and apply thin, even coats following the wood grain
-
Keep your brush strokes long and smooth. Also, you should overlap slightly to avoid streaks.
-
Work fast enough to keep a "wet edge" so each section blends into the next
Read more: Best Polyurethane for Table Top
Step 3: Build Up Your Protection
-
Wait 2 — 4 hours minimum between coats
-
Lightly sand between coats with 320-grit paper to help the next coat stick
-
Apply 2 — 3 thin coats total for complete water protection
-
Keep everything off the surface for 72 hours while it fully hardens
Some advice to get the best results for waterproofing wood. You’ll need to:
-
Work when it's 65 — 75°F. This is because too hot or cold messes with how the sealer flows.
-
Keep humidity under 85% or the sealer won't cure properly
-
Stay out of direct sunlight while applying, or it will make the sealer dry too fast.
3. How to Waterproof Wood with Waterproof Paint
Sometimes, you want to change your wood's color and at the same time, protect it from water damage. Waterproof paint for wood kills two birds with one stone. This means it can give you beautiful color plus serious moisture protection.
Top 3 paint options for waterproofing:
-
Acrylic-Based Waterproof Paint: Cleans up with soap and water, dries fast so you can finish projects quickly
-
Oil-Based Protective Coatings: Soaks deeper into wood fibers and lasts longer, especially outdoors
-
Stain/Sealer Combinations: One product that colors and seals at the same time
Where waterproof paint works best:
-
Outdoor decks that need to look good and handle rain, snow, and foot traffic
-
How to waterproof wood furniture for outdoors, like picnic tables and garden benches
-
House siding, trim, and shutters that face the weather year-round
-
Basement walls and garage surfaces, where moisture is always a problem

Waterproof paint for wood gives you beautiful color plus serious moisture protection
Photo: Freepik
How to waterproof wood with waterproof paint:
Tools needed:
-
Waterproof paint or stain/sealer combination
-
3/8-inch nap roller or quality brush
-
5-gallon bucket for mixing
-
Pressure washer (for outdoor prep)
-
Painter's tape and drop cloths
-
Complete safety equipment
Step 1: Clean the Wood Surface
-
We power wash the entire surface to remove dirt, mildew, and loose material. Then, you need to wait 48 hours for complete drying.
-
Strip off any old paint or stain that's peeling or flaking
-
Sand everything smooth so the new paint has a good surface to grab onto
-
Use painter's tape to protect windows, concrete, and anything else you don't want painted
Step 2: Prepare Your Paint Properly
-
If you're using multiple containers, you need to mix them all in a large bucket. It’s good at preventing color variations across your project.
-
Stir thoroughly to make sure all the pigments are evenly distributed
-
Test your color on a hidden spot first to make sure you like how it looks
Step 3: Apply the First Waterproof Paint Coat
-
Roll or brush on thin, even coats across the entire surface
-
Work fast enough to keep a wet edge where you're painting
-
Use a brush for detailed areas and corners, a roller for big flat surfaces
-
Follow the coverage amounts on the can
Step 4: Add the Second Waterproof Paint Coat
-
Wait the recommended time between coats. We usually wait 1 — 4 hours, but it will depend on your paint type.
-
Apply a second coat for better protection and even color coverage
-
Don’t forget to walk around and check for any spots you missed, then you touch them up right away.
Here is some advice for getting the best results when working with waterproof paint. You’ll need to:
-
You should paint when it's between 55 — 90°F.
-
Make sure NO rain is forecast for 24 hours after you finish.
-
Overcast days are actually better than bright sun because the paint won't dry too fast.
FAQs
1. How do You Waterproof 100% Wood?
You can't make wood 100% waterproof, but you can make it very water-resistant. The best approach is to use a penetrating wood sealer followed by a good-quality exterior wood stain or paint.
We can do it by cleaning the wood thoroughly, then applying a wood preservative that soaks deep into the grain. After it dries, you can add your topcoat. This waterproof technique keeps most water out and lets the wood breathe naturally.
2. Can You Spray Something on Wood to Make it Waterproof?
Yes, there are spray-on wood sealers that work well for smaller projects. Thompson's WaterSeal and similar products come in spray bottles that are perfect for decks, fences, and outdoor furniture.
However, spraying wastes more than brushing, so it costs more. Besides, you'll need to reapply spray sealers more often. That’s usually every 1 — 2 years instead of 3 — 4 years for brushed-on products.
3. Can You Paint Wood to Make it Waterproof?
Yes, you can paint wood to make it waterproof, but not just any paint will do the job. You need specially designed waterproof paint or exterior paint with built-in water resistance. Regular interior paint won't cut it outdoors.
4. How to Seal Wood so It Doesn't Rot?
The best way to stop wood rot is to keep moisture out before it starts. And to achieve this, you’ll need to clean your wood and let it dry for at least 48 hours.
Secondly, you apply a wood preservative that soaks deep into the grain (it kills any fungus that causes rot). Once that's dry, you add a waterproof topcoat like polyurethane or marine varnish to create a barrier against water.
5. Can You Make Untreated Wood Waterproof?
Absolutely Yes! Untreated wood is actually easier to waterproof because there's no old finish to strip off first. And no matter if you choose natural oil, synthetic sealer, or waterproof paint, untreated wood soaks it up better and gives you longer-lasting protection.
How to Waterproof Wood: Guide Ends Here
So there you have it, protecting your wood from water damage really isn't as hard as it sounds once you know what you're doing.
Pick the method that makes sense for your project and take your time doing it right the first time. Your future self will thank you when you're not sealing exterior wood with rotting boards or expensive repairs.
Want to learn more tricks for keeping your home in great shape? We've got plenty more helpful blogs that break things down for beginners, just like this one.
Do you have questions about how to waterproof wood or get stuck on something specific? Simply contact our dedicated team! We love helping folks figure out the best way to tackle their projects.